The Art Of Stereoscopic Photo
With the StereoPi, you can enter the world of stereoscopic photography! The art of stereoscopic photography actually began in the 18th century and the Stereoscopic Society, one of the oldest photo societies, has existed since 1893. This past year they celebrated their 125th anniversary and, as you can imagine, they’ve accumulated a lot of experience during this time. In this article, they’ve kindly agreed to share their experience with us! We hope it helps you make great stereoscopic photos!
Special thanks:
- Stereoscopic Society, and Andrew, Club President
- Bill Costa, s3D photographer
Intro
Taking a standard (non-3D) photo is no longer a problem — you just click a button on your camera or phone. There are still, however, a huge number of books and course teaching you to do it properly. With a stereoscopic photograph (or s3D) you can face unexpected issues, which can’t be predicted from traditional 2D photography. For example:
- Some objects on your photo may appear closer to the screen of your device.
- You may feel an inexplicable discomfort when viewing an s3D photo.
- You can have a photo where small objects seem big and big ones seem small.
Let’s start with a brief intro video. It is recorded in 3D format, and you can view it using google glasses or anaglyph glasses, depending on your device. If you have some experience — you can also view it without any additional equipment by just focusing your eyes.
Some key ideas from this video:
- “1 in 30 rule.” Objects you want to photograph should not be closer than 30 stereobases of your camera. If you have 65 mm stereobase, don’t have your subject closer than 30x65 = 1950 mm.
- For portrait mode the better stereobase is about 30 mm.
- When shooting small objects, the smaller stereobase the better. Try to set it to 30 mm or smaller. If you set your Raspberry Pi cameras as close as possible, you will have ~28 mm stereobase.
- For large-scale objects (like buildings) you need a much larger stereobase, up to several meters! You can even do two photos by moving your device, this method is known as “cha cha.”
StereoPhoto Maker software
For standard 2D photos, most photographers utilize special software, such as Adobe Photoshop, to perform post-processing. In the world of 3D photography, there is StereoPhoto Maker (SPM), a free software for working specifically with stereoscopic photos.
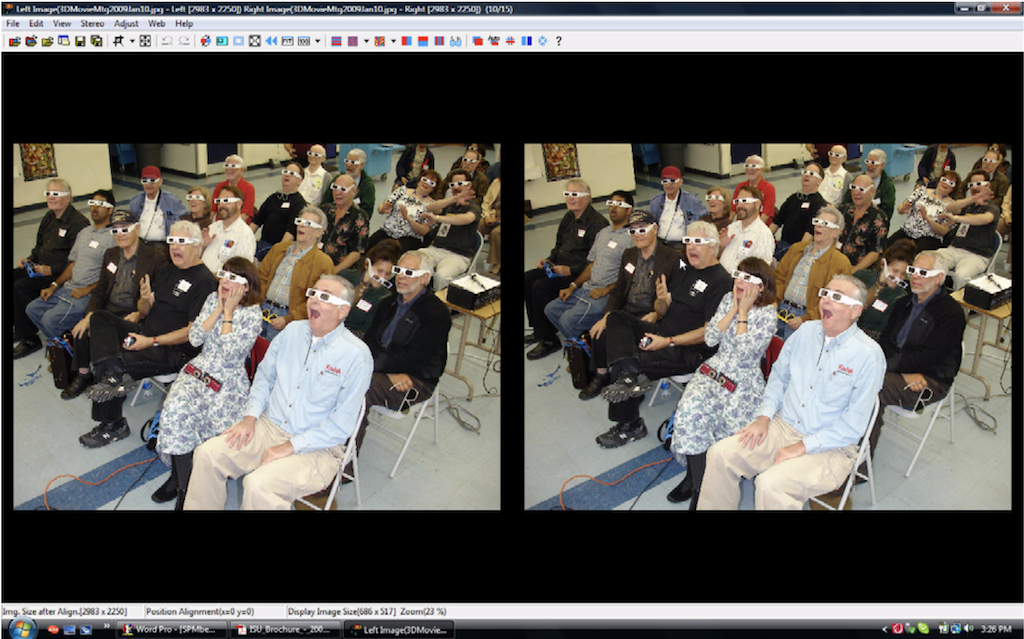
With this clever program you can:
- Align your left and right images
- Remove vertical height errors
- Remove rotational errors
- Remove magnification errors
- Remove barrel distortion
and a LOT of other things!
The most important feature is automatic image alignment. If your cameras are not ideally aligned, SPM will automatically align your photos, removing cameras setup errors!
You can read this beginners guide, and you can download it here http://stereo.jpn.org/eng/stphmkr/
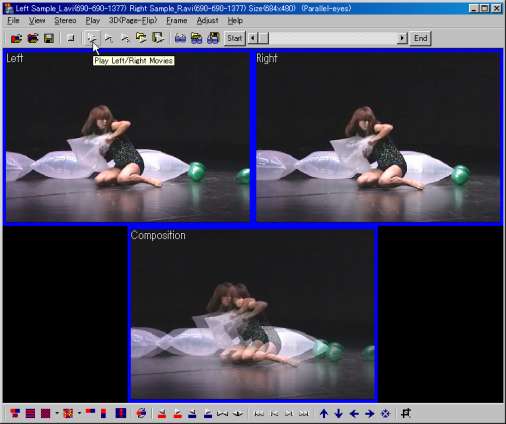
StereoMovie Maker
In addition to stereoscopic photographs, you may wish to record stereoscopic video. In this case you can use tereoMovie Maker, or SMM. http://stereo.jpn.org/eng/stvmkr/
More to read
Are you excited!?
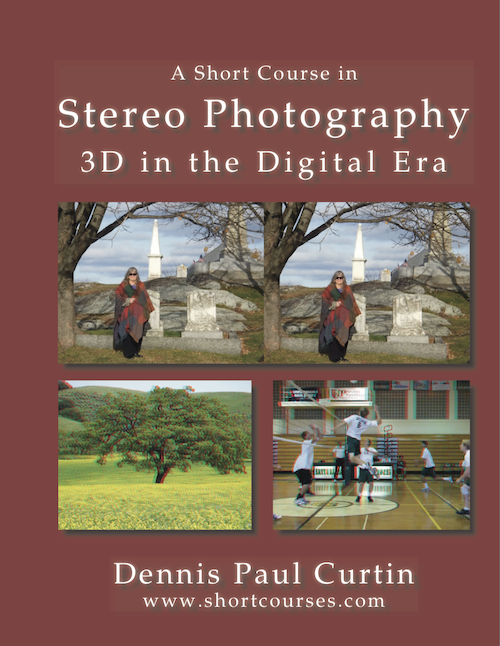
We recommend the excellent book “Stereo Photography 3D in a digital era” by Dennis Paul Curtin. You can download PDF version here: http://www.shortcourses.com/stereo/samples.pdf
You can also read this stereoscopic story from Alex Bate on raspberrypi.org
Next steps
This is our first article from our forthcoming “The Art Of Stereoscopic Photo” series. In our next article, we plan to provide you a step-by-step guide, describing how to create a phone-controlled stereoscopic camera using StereoPi.
UPD> You can also read The Art Of Stereoscopic Photo, part 2