
23Mar
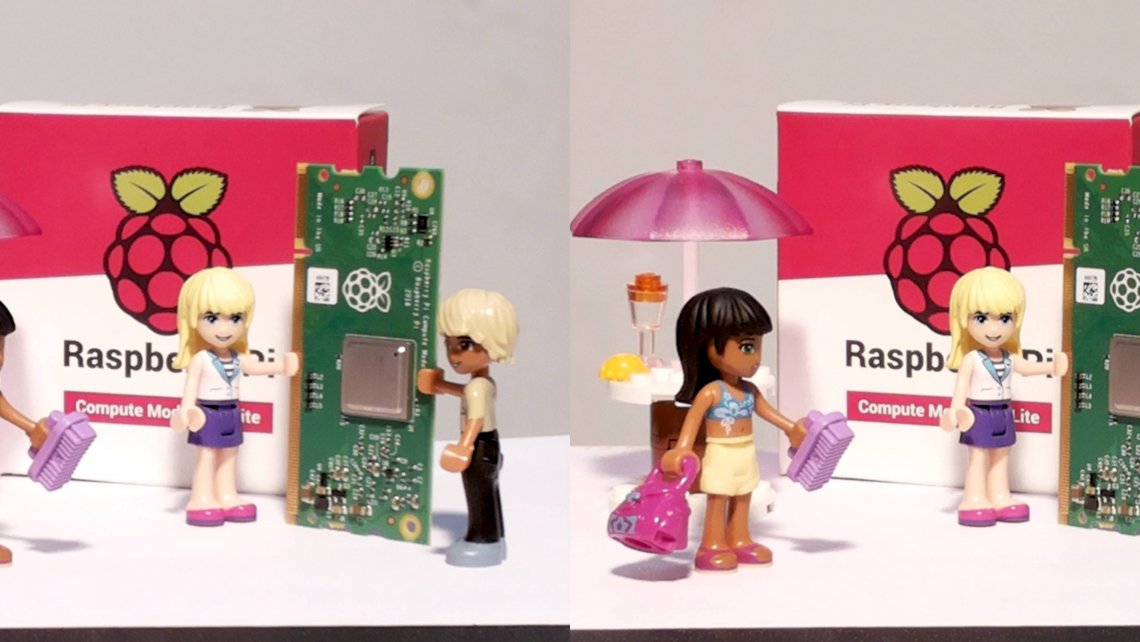
StereoPi used as USB device

The Raspberry Pi Compute Module powering the StereoPi has the ability to operate as an USB device thanks to an USB-OTG hardware within the processor. This means that we can connect it to the PC and make it appear as an USB stick, a serial interface, or – as exposed in this article – as an external network interface. It is very powerful but it comes with a few limitations due to the architecture of the Raspberry ecosystem followed by the StereoPi. Let’s see how it works.
05Feb
OpenCV: comparing the speed of C++ and Python code on the Raspberry Pi for stereo vision
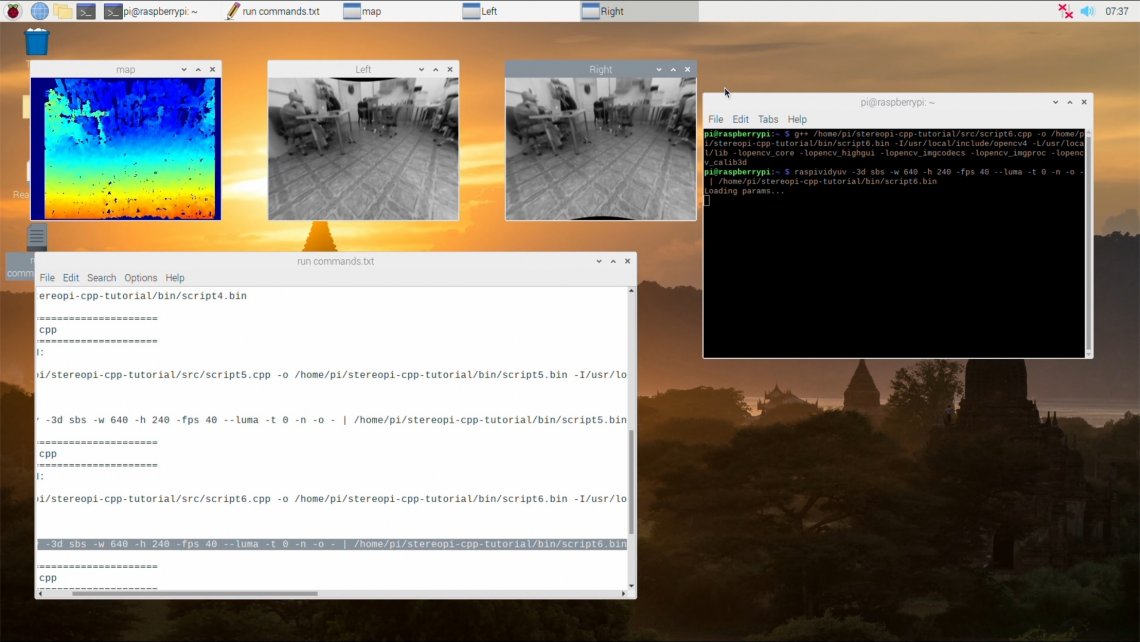
You often hear that Python is too slow for computer vision, especially when it comes to single-board computers like Raspberry Pi. Python is very simple and easy to learn, and it’s currently one of the most popular programming languages for a good reason.
19Oct
DIY VR headset for the StereoPi. 10 ms latency for just $135
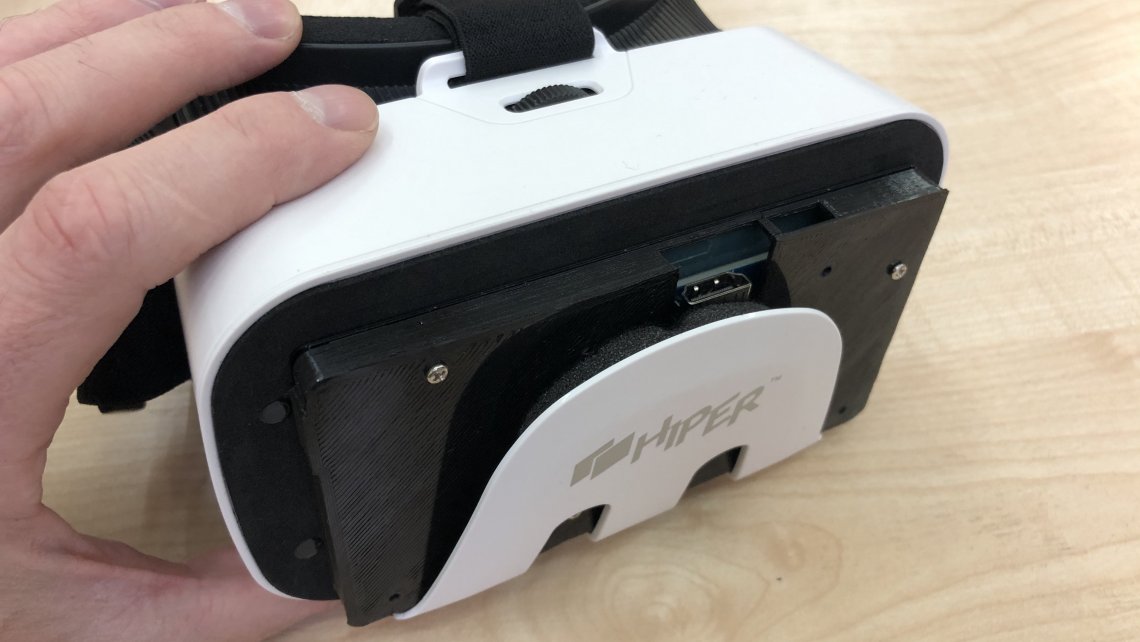
A friend of mine does psychological research in the field of human perception. He was impressed by our experiment with Oculus Go, and wanted to use this solution in his research.
But he had one very strict requirement: the video latency should not exceed 10 ms.
29Jul
A robot on StereoPi, part 1: fisheye cameras
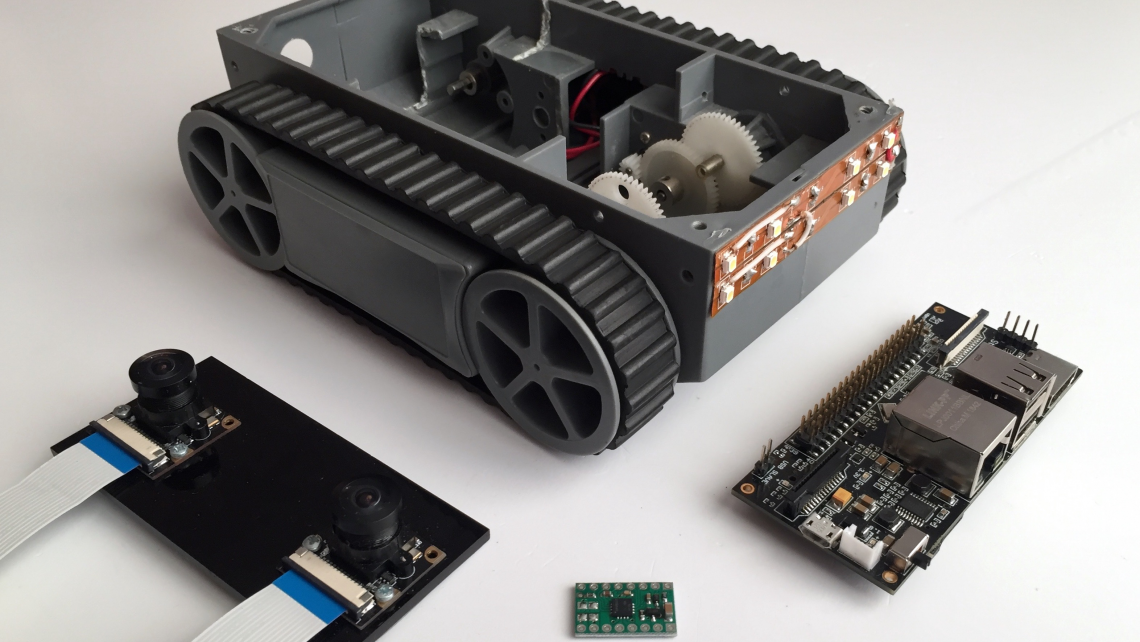
The goal of this series of articles is to create a compact indoor robot that can navigate using stereo vision. As a platform for it, we’ll use a small Dagu RP5 platform on tracks that we have. Here’s how it looks like next to the StereoPi.
13Jun
The Art Of Stereoscopic Photo, part 2

Introduction
In the previous article we reviewed the main rules and principles that allow you to get high-quality stereo photographs. In this article we will focus on the practical side of things. We will discuss how to make a simple DIY-style stereoscopic camera from a StereoPi, how to take your first stereo photographs and process them in the StereoPhoto Maker app.
We’ll use a regular mobile phone for a viewfinder, a controller for our camera and a monitor to view the resulting images.
16May
Hacking Skybox on Oculus Go for StereoPi live streaming
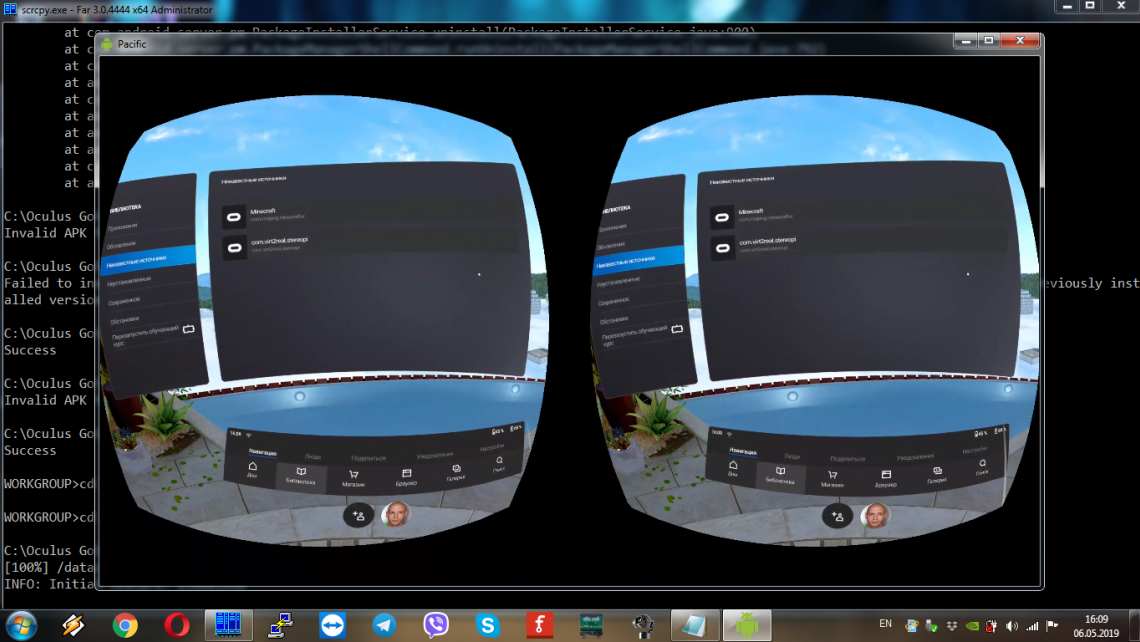
I’ll skip a lengthy intro and go straight to the point.
So, I have a stereo camera capable of outputting H264 video over different protocols, and I have an Oculus Go headset. How do I watch a stereo live stream from the cam on the headset? Preferably with minimal latency and locally, so YouTube and other RTMP video services are a no go.
Skipping ahead, here’s what I’ve managed to achieve: first, I played a pre-recorded video file from StereoPi, and then I played a live stream from StereoPi (MPEG-TS through UDP).
10May
The Art Of Stereoscopic Photo
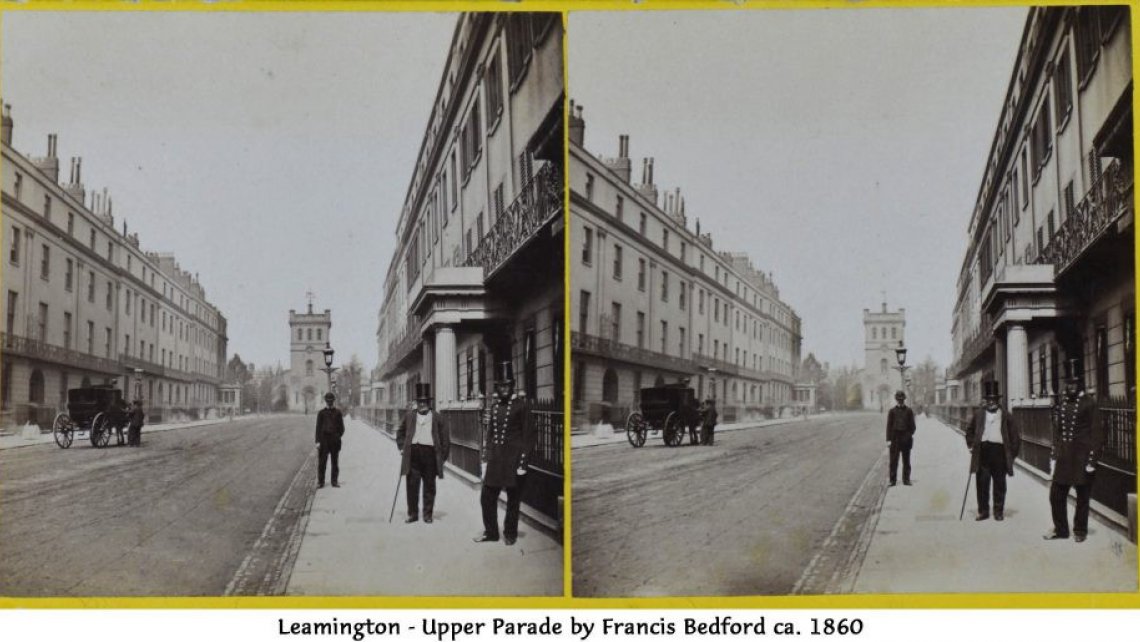
With the StereoPi, you can enter the world of stereoscopic photography! The art of stereoscopic photography actually began in the 18th century and the Stereoscopic Society, one of the oldest photo societies, has existed since 1893. This past year they celebrated their 125th anniversary and, as you can imagine, they’ve accumulated a lot of experience during this time. In this article, they’ve kindly agreed to share their experience with us! We hope it helps you make great stereoscopic photos!
Special thanks:
05Apr
OpenCV and Depth Map on StereoPi tutorial

UPD> We have updated version of this article, including C++ code, here:
OpenCV: comparing the speed of C++ and Python code on the Raspberry Pi for stereo vision