OpenCV Depth Map Examples Code and Production Status
For all students of OpenCV, we just released our code, ready-to-use Raspbian image, and a simple tutorial. Together, these will take you step-by-step from the first image capture to the final depth map created via real-time video capture.
The tutorial consists of six steps:
- Step 1: Capture image
- Step 2: Capture photos for calibration
- Step 3: Create set of left and right images
- Step 4: Calibration
- Step 5: Depth map parameters tuning
- Step 6: Depth map created via real-time video capture
Here’s an example of the results after the final step:
You can read a detailed description in our post, and look at our code on GitHub.
Production News
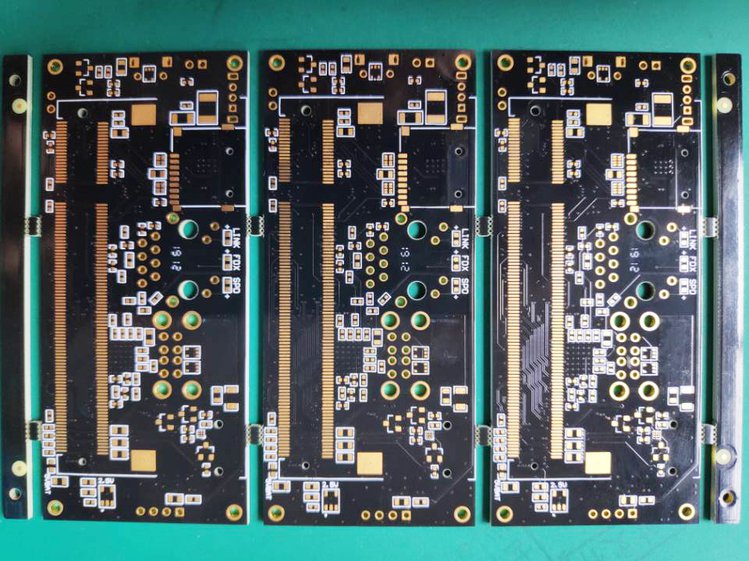
This week, PCBs arrivied at our factory as expected. Here are a couple of the very first samples:
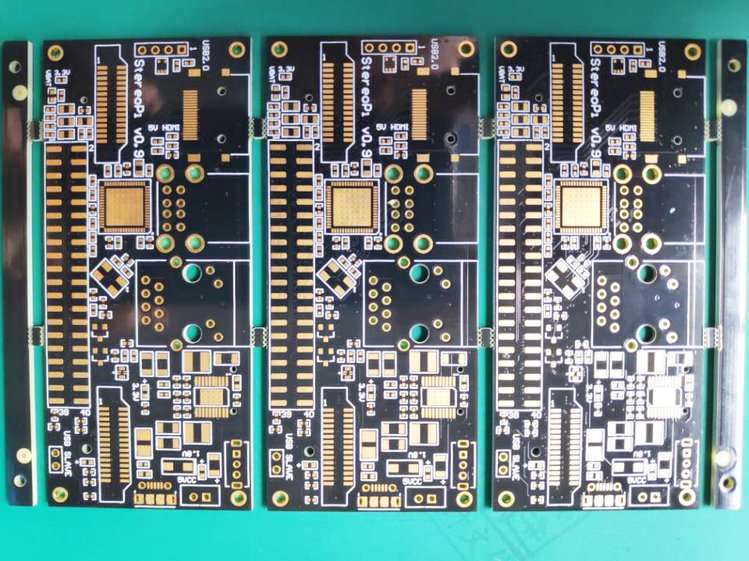
And here’s what the production process looks like at our factory:
Our army of microSD cards imaged with Raspbian S.L.P. continues to grow:

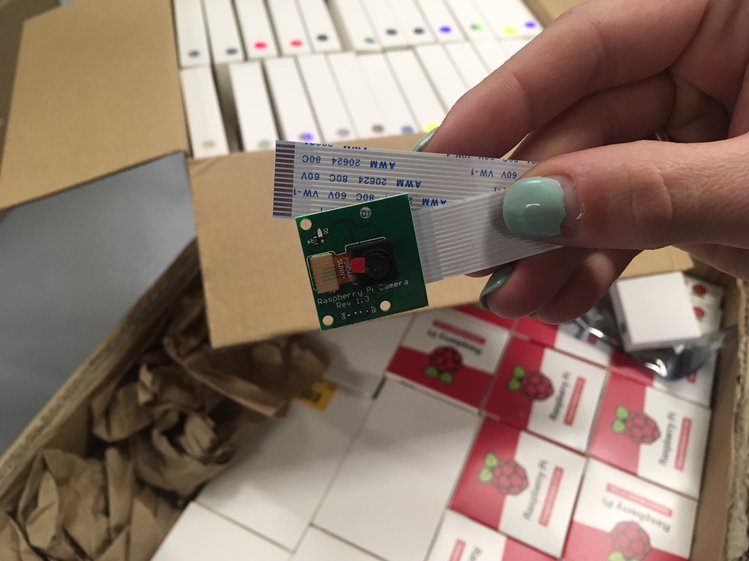
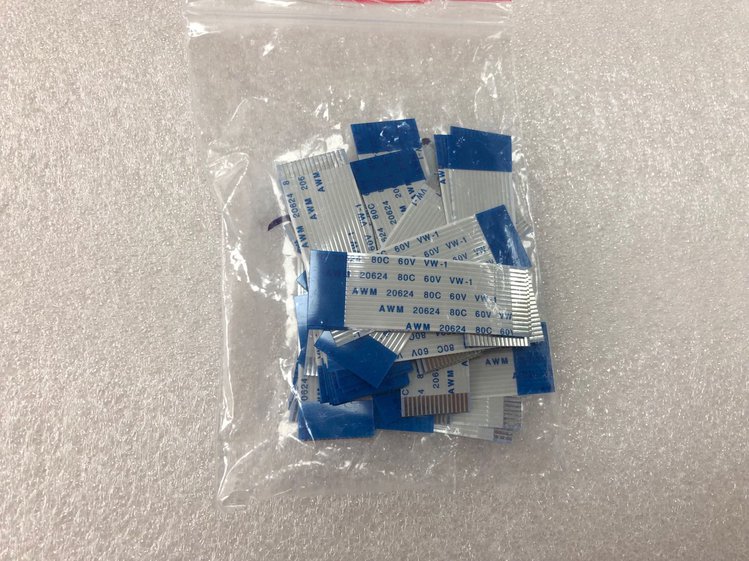
Short camera cables arrived:
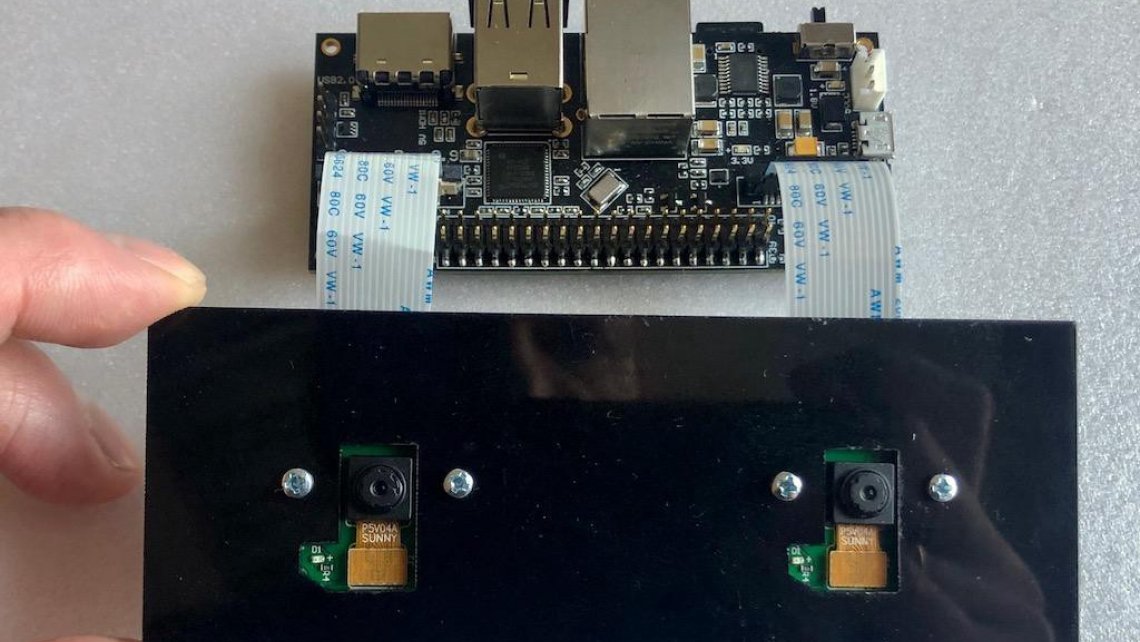
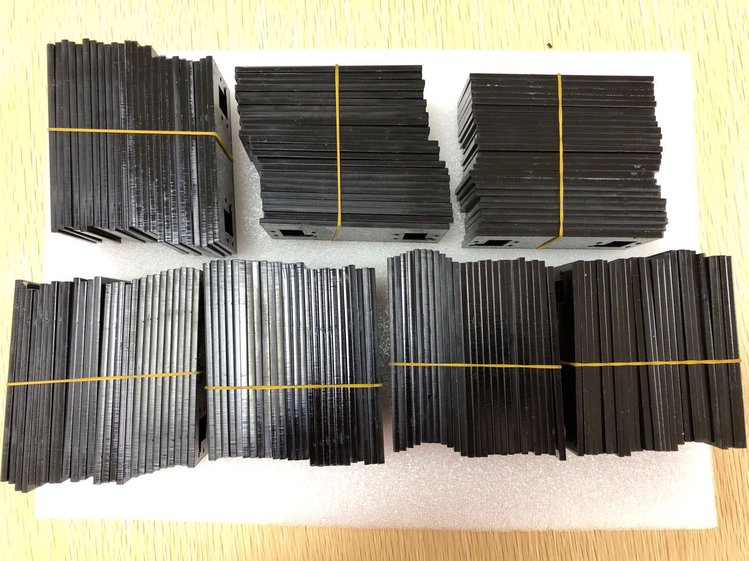
Camera support plates arrived (V1/V2 camera version shown here):
Also, Crowd Supply received the Compute Modules and cameras: