Field Report Follow-up: Stereomaton Goes Live!
Now that we’ve presented the project and the details of its case design, we’d like to conclude this short series about the Stereomaton with a look at how it was received by the public during the festival.
The Stereomaton was ready several days before the event. However, we coded a few image processing operations the day before to get more vivid colors, better contrast, and faster processing at the same time. Compare the photos from this article to the one in the first report to see the improvement. We still had a small color shift and blurriness on one side, but it was not enough to prevent the resulting image from being viewed in 3D. Of course all the rendering, including stitching of the raw captures to a perfectly aligned image, was done by the Stereomaton itself. We used this new software during the event.
Note: The photos in this report were taken by the Stereomaton during the event, which outputs a parallel stereogram. However, in order to allow more stereo enthusiasts to view the photos without equipment, they were converted to an RLR format. You can thus see them either with cross or parallel freeview technique. If you do not know these techniques and want to see the photos in 3D, you are encouraged to learn one of these methods, though they require some training. It is easier when the photos are small.
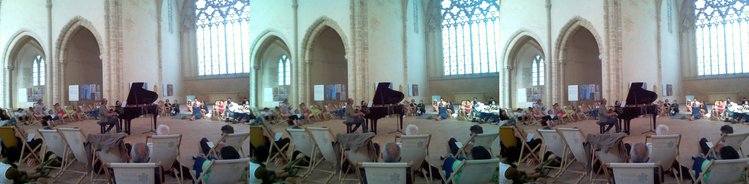
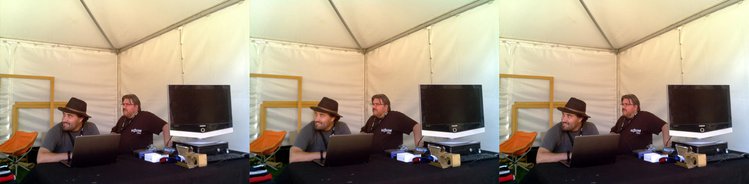
The first day we set up in the cloister where most of the concerts took place (or were re-transmitted in directly in one case). Here is the installation of our stand.
We used a monitor to display a slideshow of anaglyph versions of the photographs along with anaglyph glasses to view them. We also had a cardboard viewer with a dedicated phone (a piece of cardboard with optical lenses and a phone we put as a mask on the face to see the photo in 3D), and two phones fitted with autostereoscopic screens (3D without glasses). All the photos displayed in the slideshow could be watched on those devices as well.
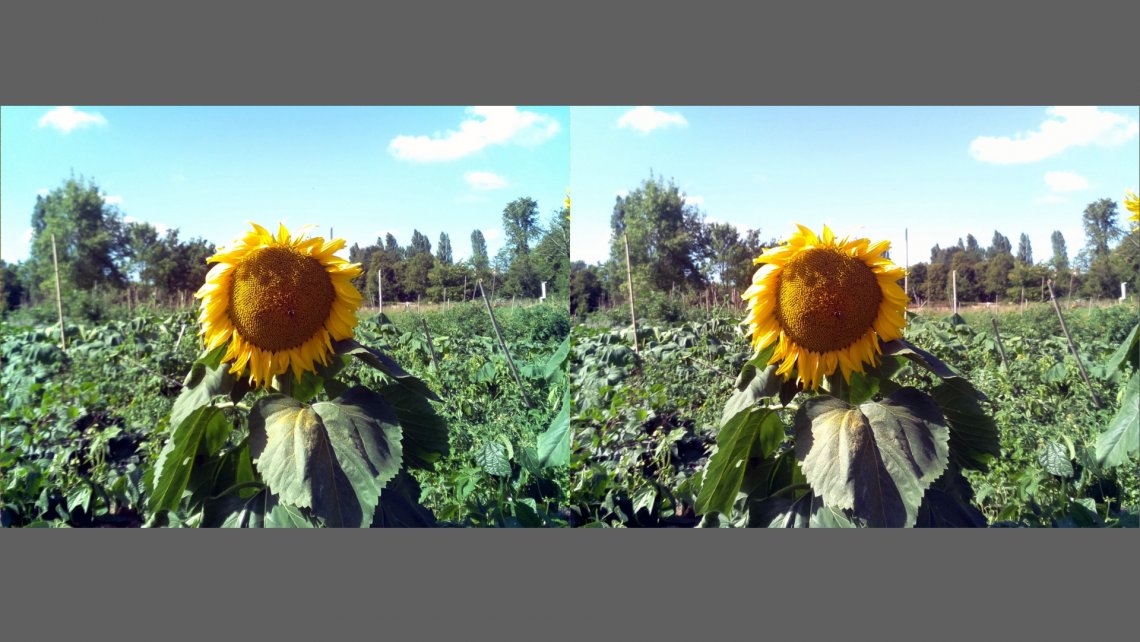
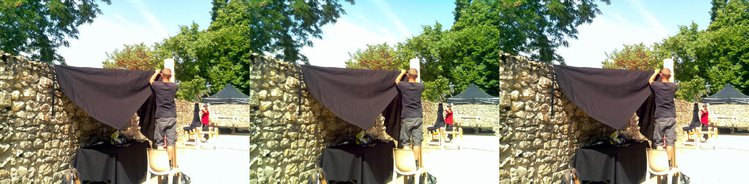
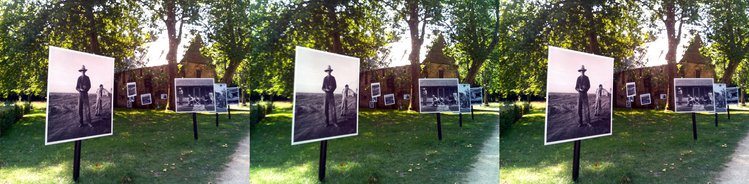
At first we just had a few test photos we had taken in town the day before, but they were quickly joined by photos we took during the day from behind the scenes, at the concerts, or in random places like these:
We can say that our presentation was a great success! The visitors were amazed by the 3D and particularly because the photos were taken during the festival itself.
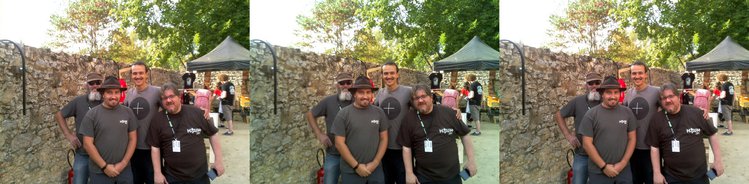
The initial goal was to allow people to take photos of themselves using the countdown timer displayed on the front face of the apparatus. However, just a few people wanted to try it (a few tens of photos were taken). That said, the ones who did try totally enjoyed it and were very enthusiastic about their experience. We explained to them how to view their photos at home and most of them downloaded their photos from our website after the event with the code they got. Here is an example of a selfie taken by the famous beatboxer Ezra along with the team who animated the stand:
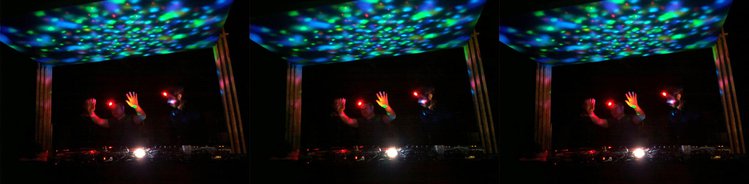
There were also concerts at night. The Stereomaton output pretty poor photos from the dark conditions, but this was probably mainly due to the enhancement algorithms that could have been fooled by the absence of large dynamics they expected. The artifacts on the photos clearly reveal this kind of behavior, and it is possible that the photos would have been okay without our filters. However, with sufficient color dynamics the algorithms were not fooled and the results were pretty good:
In the morning, we changed the program in the Stereomaton to allow it to store photos in two distinct directories, so that public photos could go to a directory used to display the slideshow while private photos would go to another directory for the selfies. This removed the need to sort and copy the photos manually to a directory for the slideshow. Thus on Sunday, the public photos were available in the slideshow as soon as they were taken (or a few moments later if the camera was not in wifi range)
On this day, most of the concerts were held in the backyard park of the abbey so we were there too. Here is a view of our stand. You can see some of the viewing apparatuses on the table. My high-quality stereo camera rig was also displayed later in the day.
We photographed a lot of moments in the festival which were all displayed live on the monitor. We saw several hundred people and gave lots of explanations about how stereoscopy works and how the images are projected to the appropriate eyes so that the brain can rebuild the 3D of the stereo-photos, depending on the technology used. We explained anaglyphs, cardboard stereoscopes, autostereoscopic screens, and sometimes polarized cinema and parallax barrier of the 3DS console. A few people were curious to know if it was possible to take stereoscopic photos without specialized equipment.
There is lots of room for improvement of the Stereomaton, probably starting with the ability to frame shots more precisely, but this first public version worked remarkably well! We will use it at other events and it will probably be improved over time.
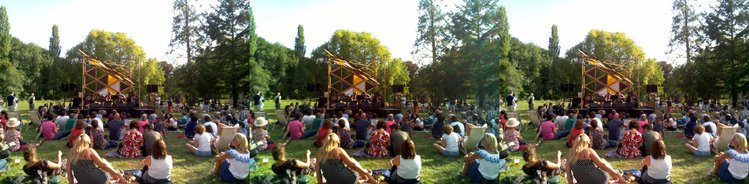
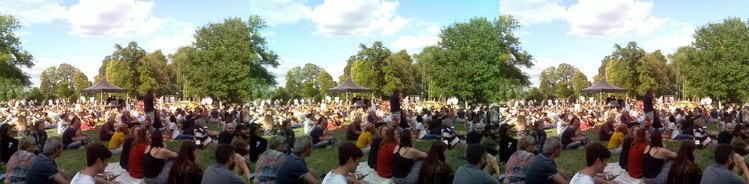
Let’s conclude with two photos of the crowd taken during the concerts.