Macro 3D photo with the StereoPi
This is our third article in The Art of Stereoscopic Photo series (part 1, part 2). In it, you will learn how to take stereoscopic photographs of small objects. This task is not a trivial one, and it will require some tweaking.
Stereoscopic image L-R
Stereoscopic image R-L
We assume that you have already read the two previous articles in this series. In the first article, we discussed the basic principles of stereo photography. In the second, practical one, we examined in detail the process of assembling, configuring and using a StereoPi based stereo camera.
Alright then, let’s get started!
1. Choosing a camera configuration
Let’s revisit one important rule of stereo photography: 1/30. The distance to the closest object from the camera should be at least 30 times the distance between your cameras (or 30 stereo bases). This means that with a classic stereo base of 65 mm, the nearest object should be no closer than 1950 mm or 2 meters to the camera.
To take photographs of closer objects, you need to position the cameras as close to each other as possible, reducing the stereo base. If, for example, you’d like to take a photo from a distance of 10 cm, then the stereo base should be slightly more than 3 (three!) mm. The idea is good, but let’s take a look at our pair of cameras:
The width of each camera is 25 mm, and if you place them as close to each other as possible, you get a stereo base of 25 mm. You can’t do less than that. Therefore, the objects should be no closer than 25x30 = 750 mm, or 75 cm. Not exactly what you’d want, but let’s default to that.
2. Choosing Camera Modules
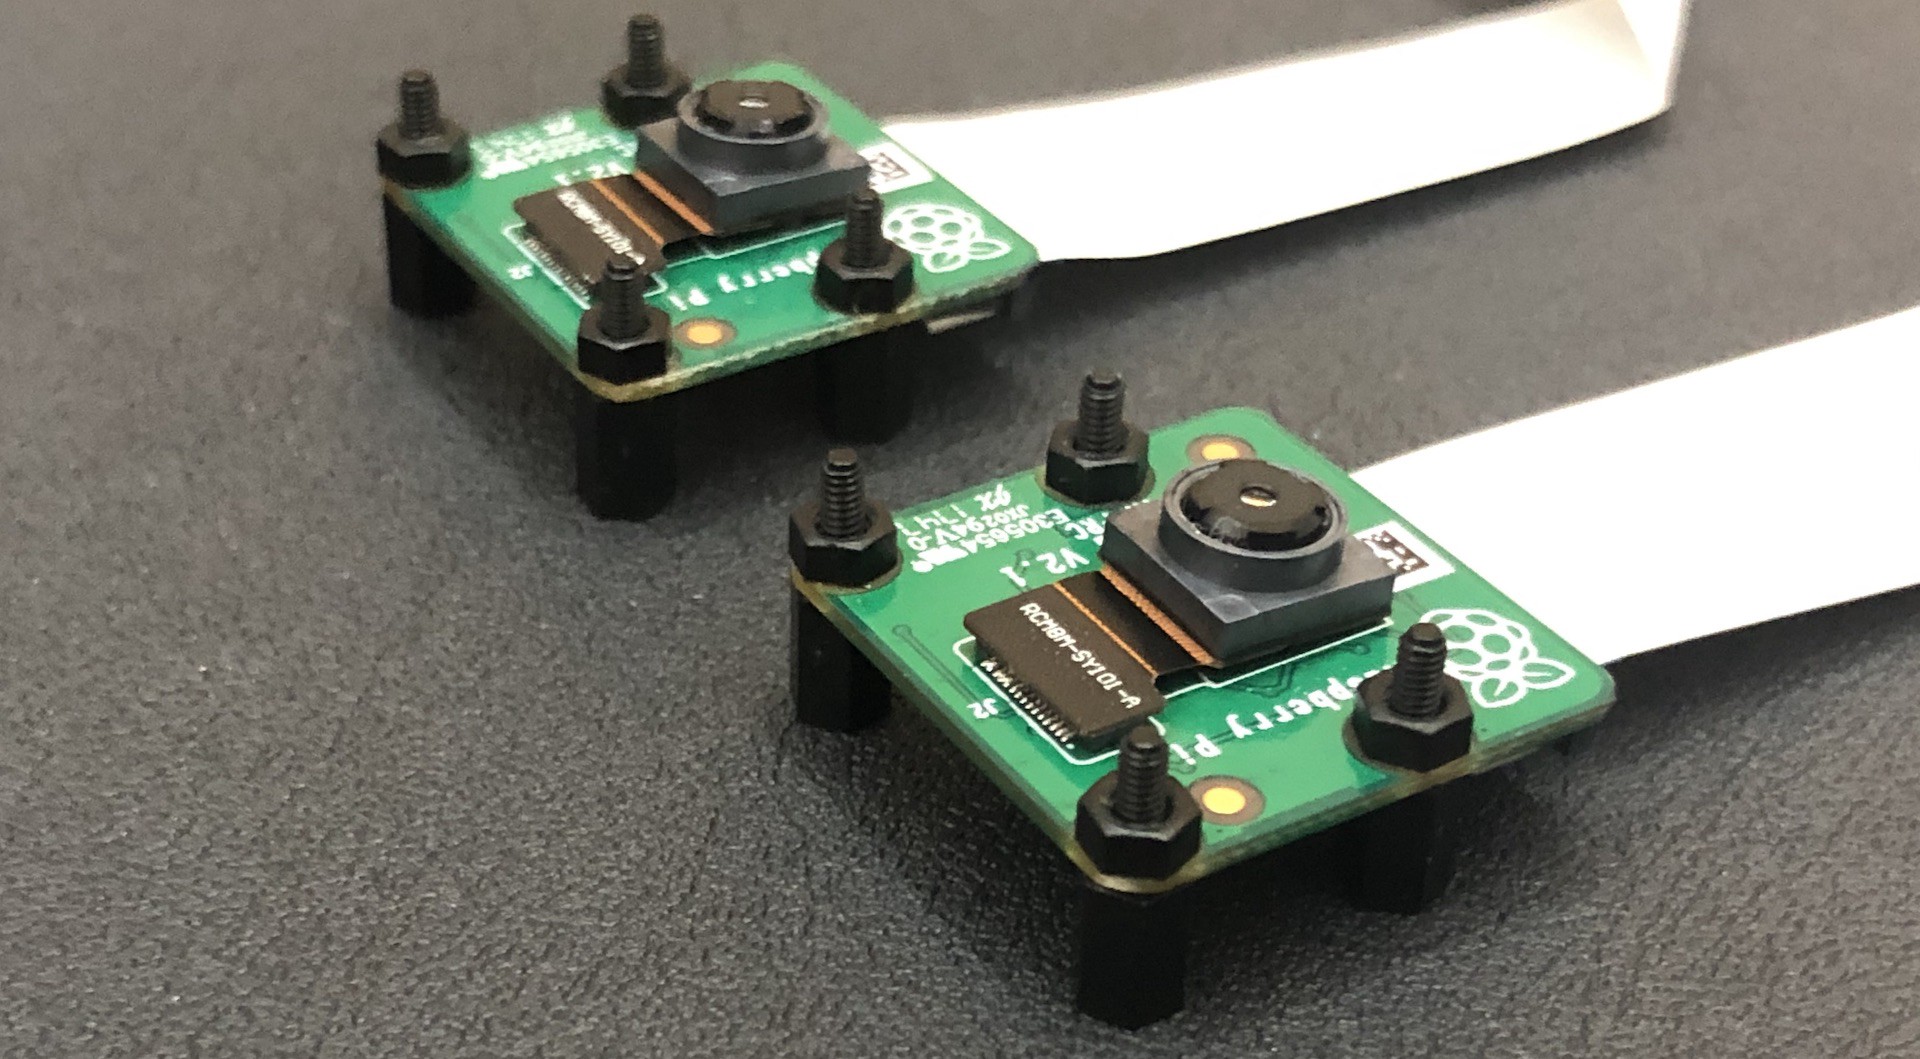
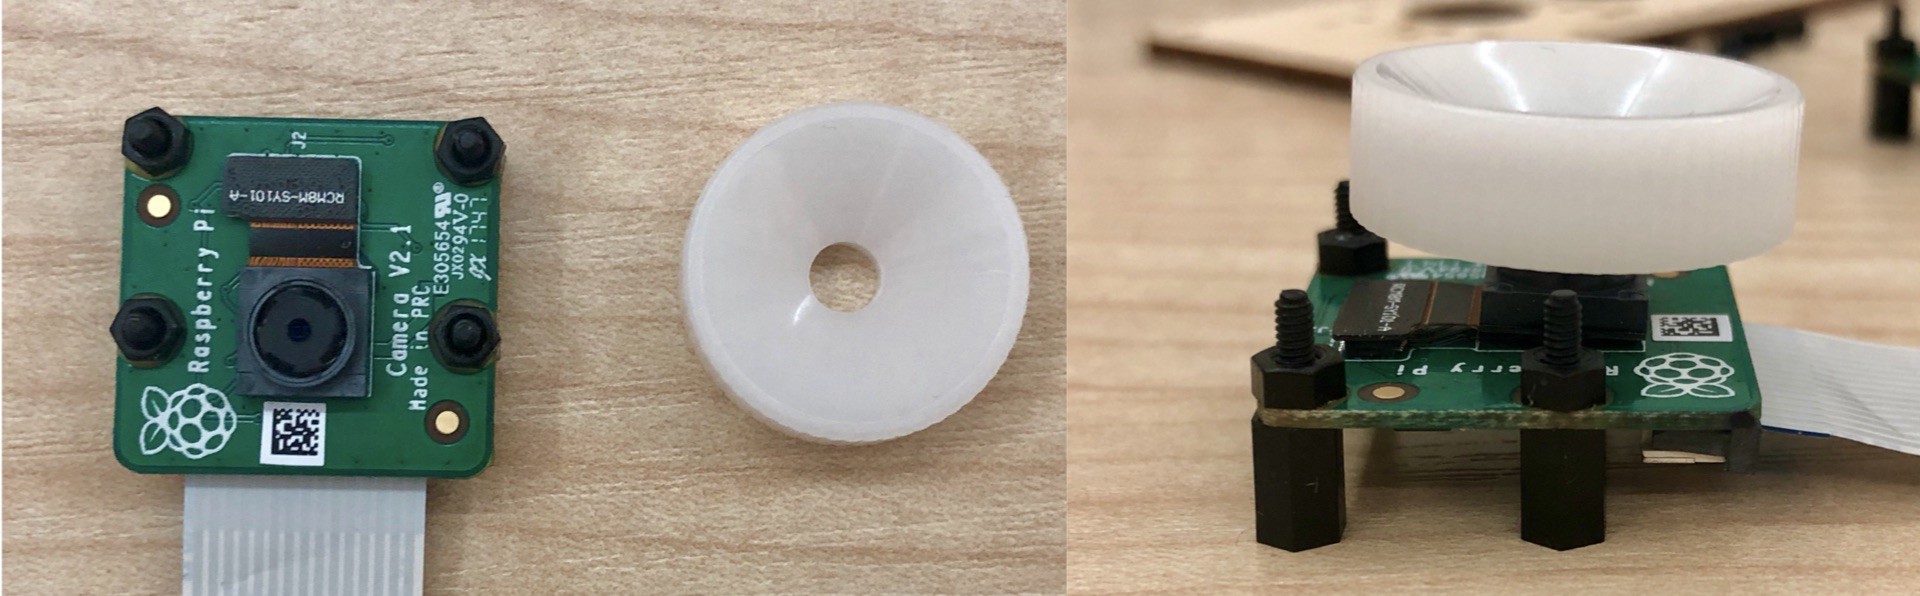
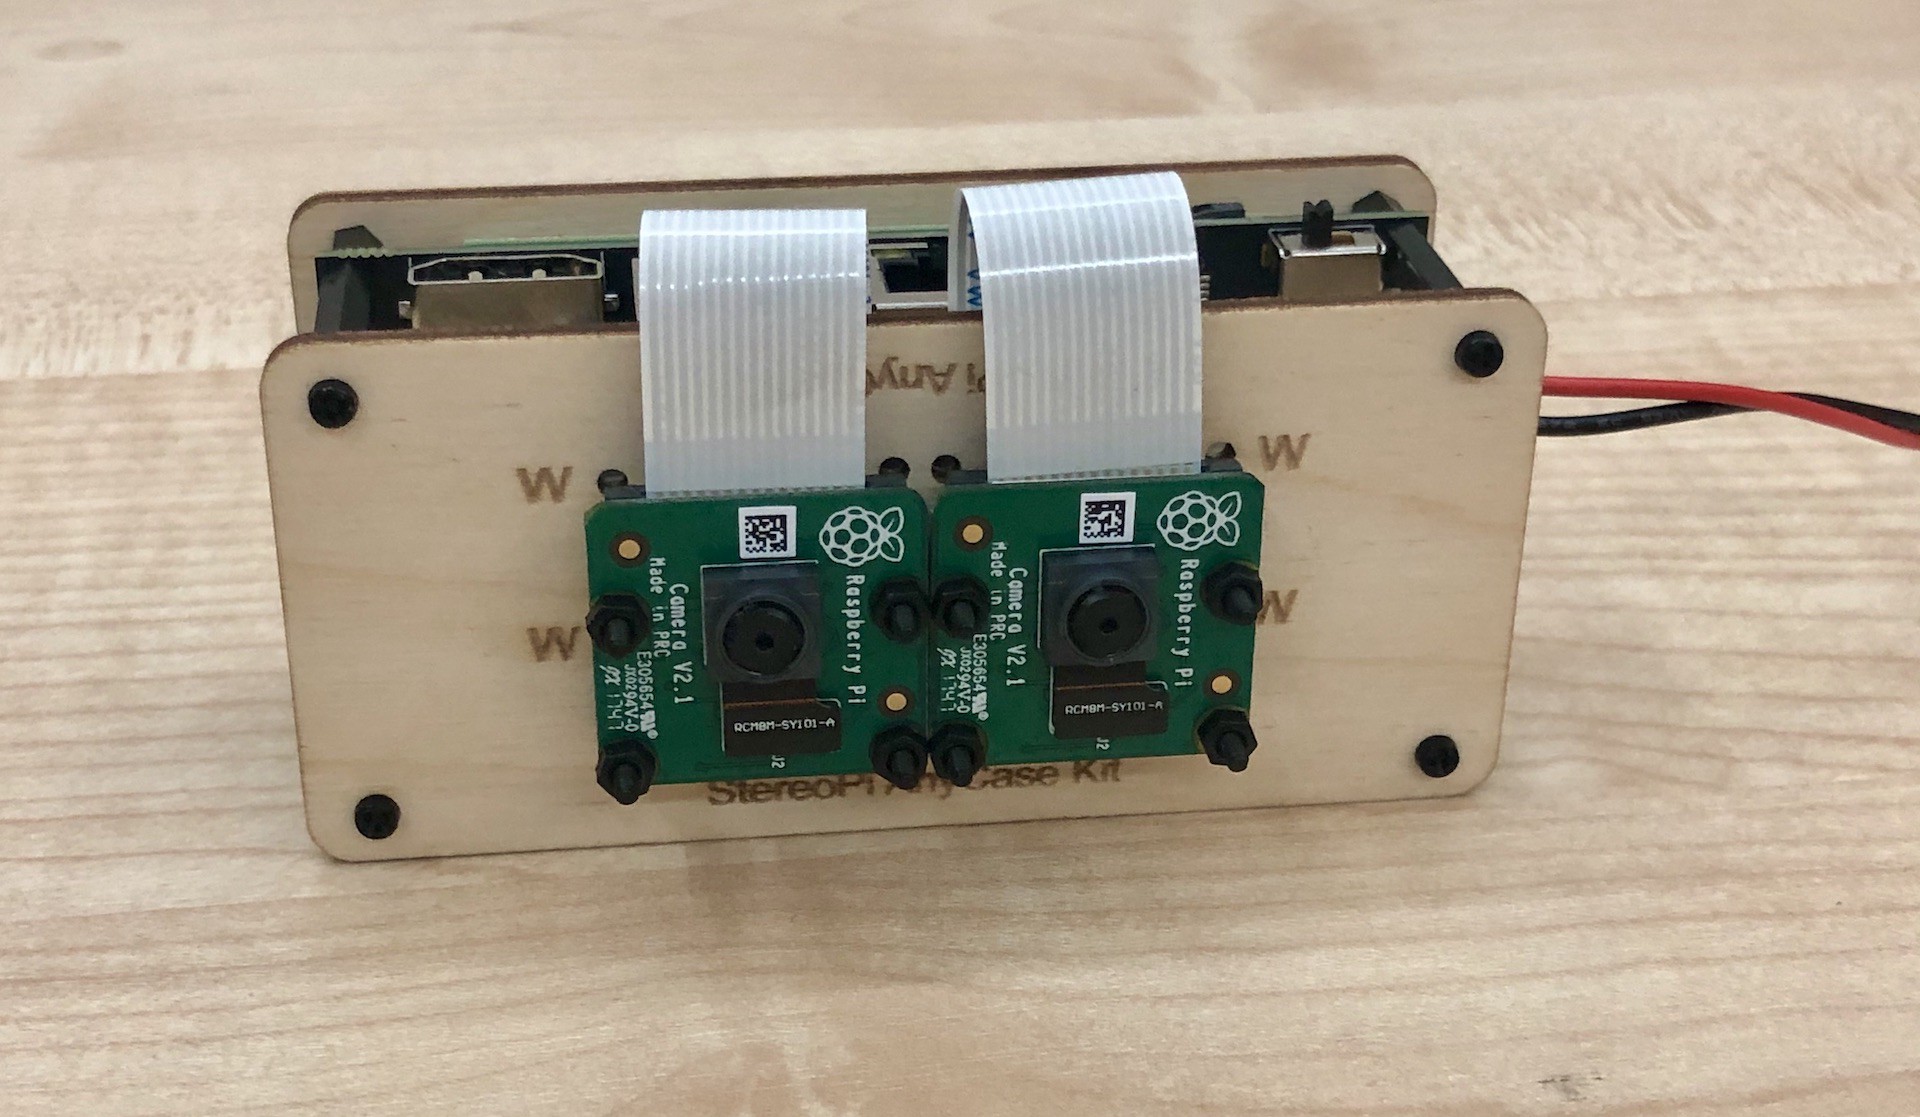
When photographing nearby objects, another peculiarity of the Raspberry Pi cameras comes up. You can get a sharp image only starting at a certain distance from the camera (30 centimeters or more). In some cases, you may need to adjust the focus. You can do this by rotating the lens without damaging the camera only on Waveshare wide-angle cameras or on V2 cameras for the Raspberry Pi. The Waveshare cameras have M12 lenses, and rotating them is not a problem. The V2 cameras come with a special attachment in the kit allowing you to adjust the focus. Here’s what it looks like:
But V1 cameras’ optics are glued in, and attempting to rotate them (with tweezers) can easily damage the optics. Therefore, if you have V1 cameras, you’re better off just leaving the settings as they are, and not placing objects too close to the cameras.
3. Assembly
To quickly assemble our setup, we will use the 25 mm stereo base plate from our AnyCase kit.
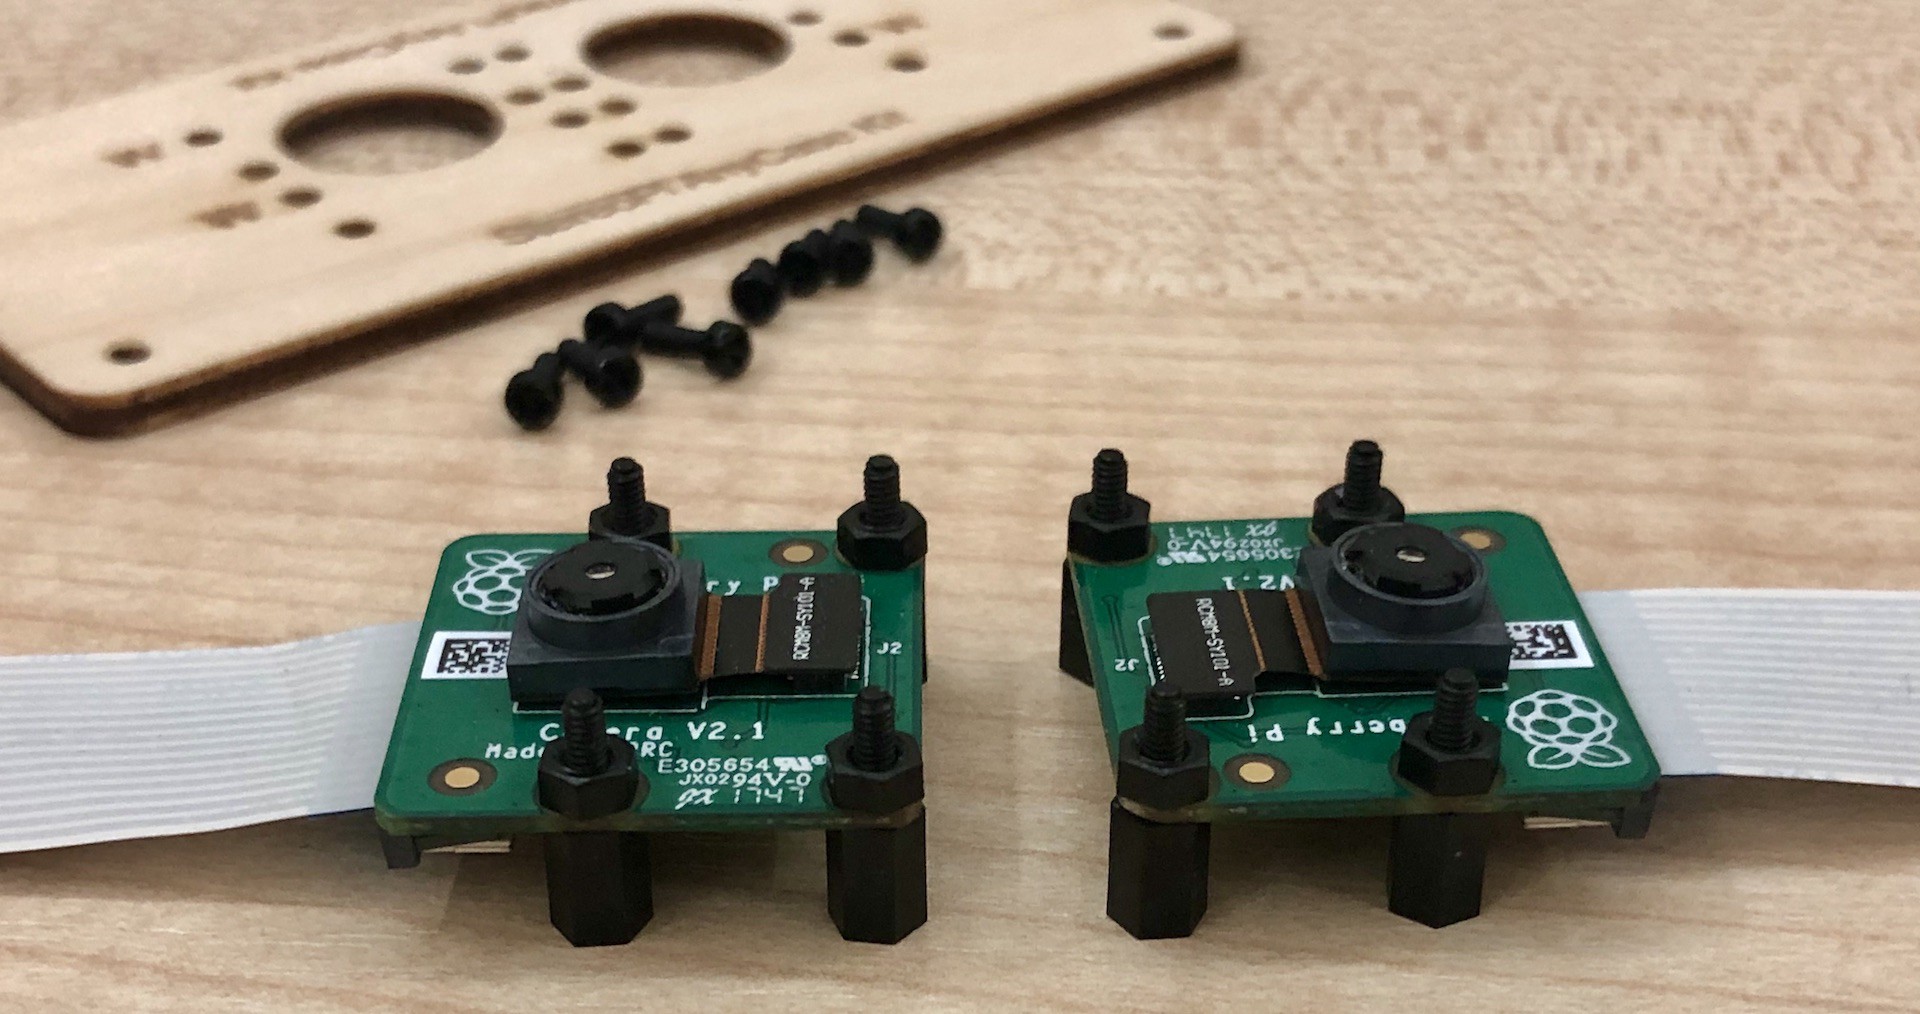
Fasten the spacers to the cameras:
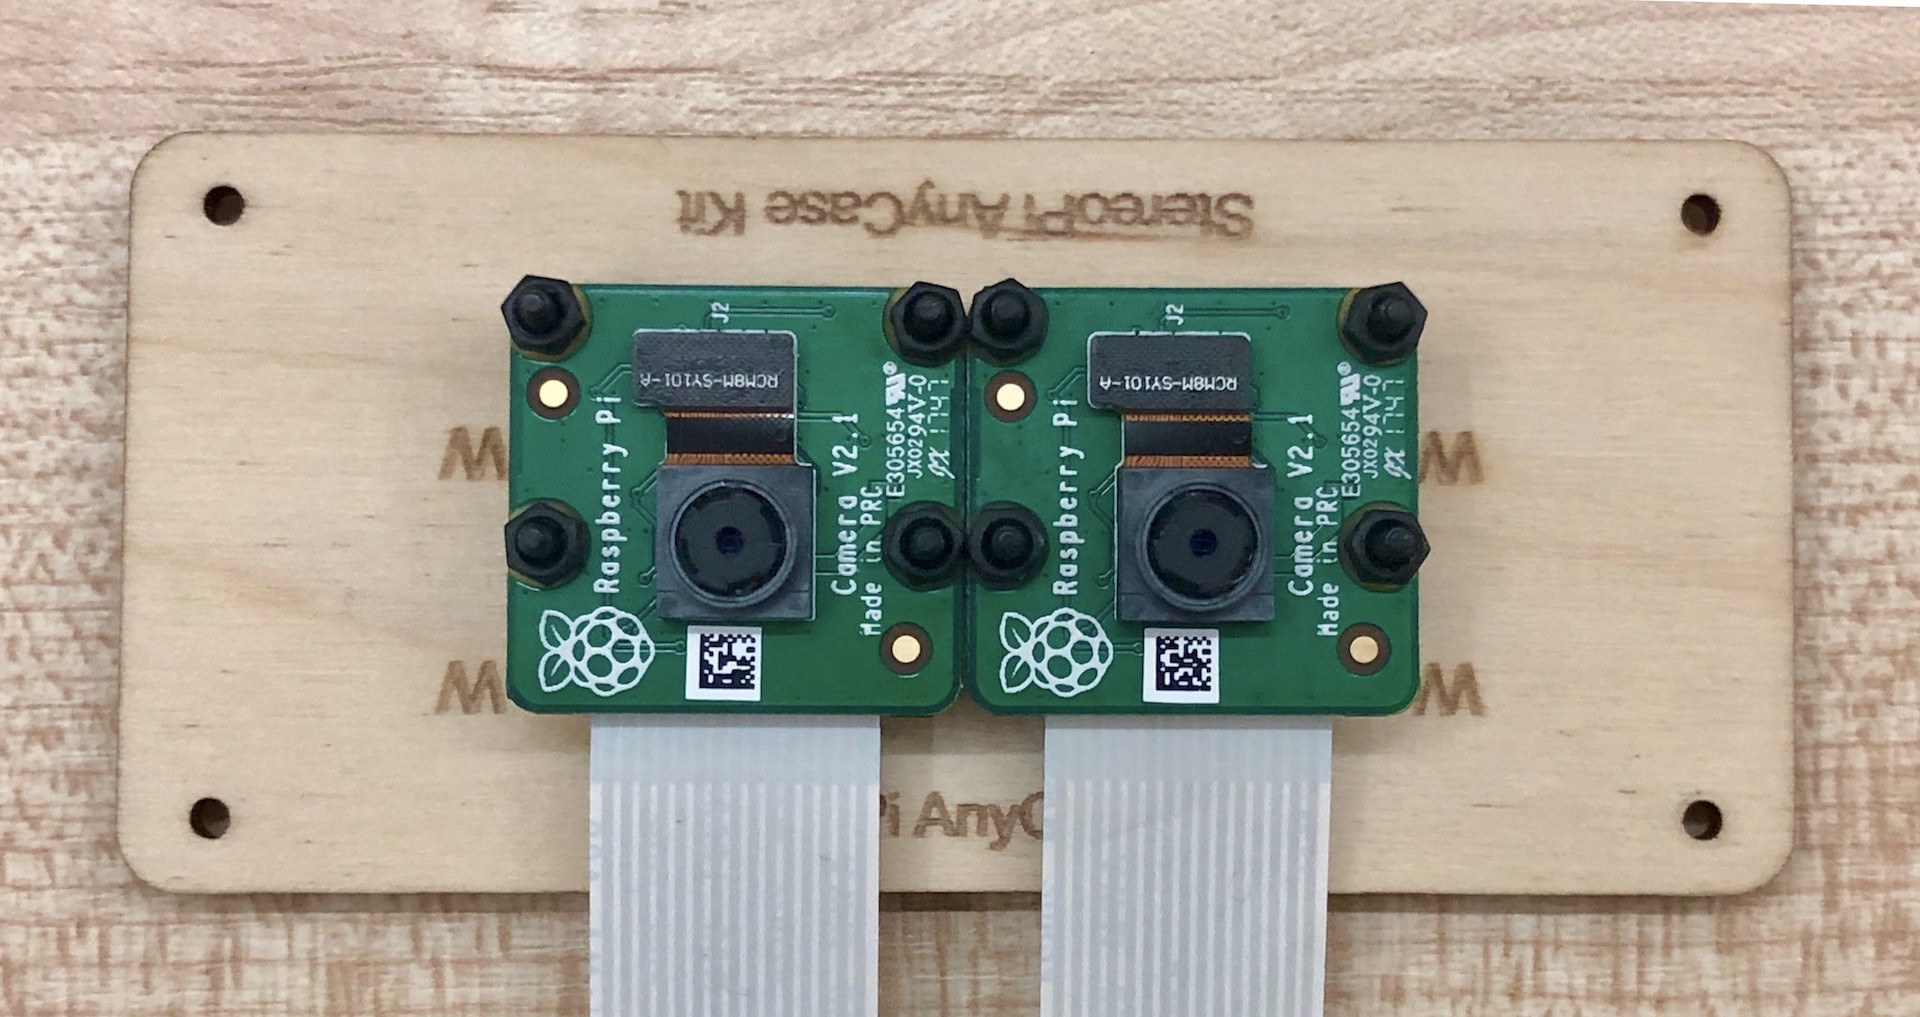
Install the cameras on the plate:
To avoid unnatural bending of the camera cables, shape them accordingly:
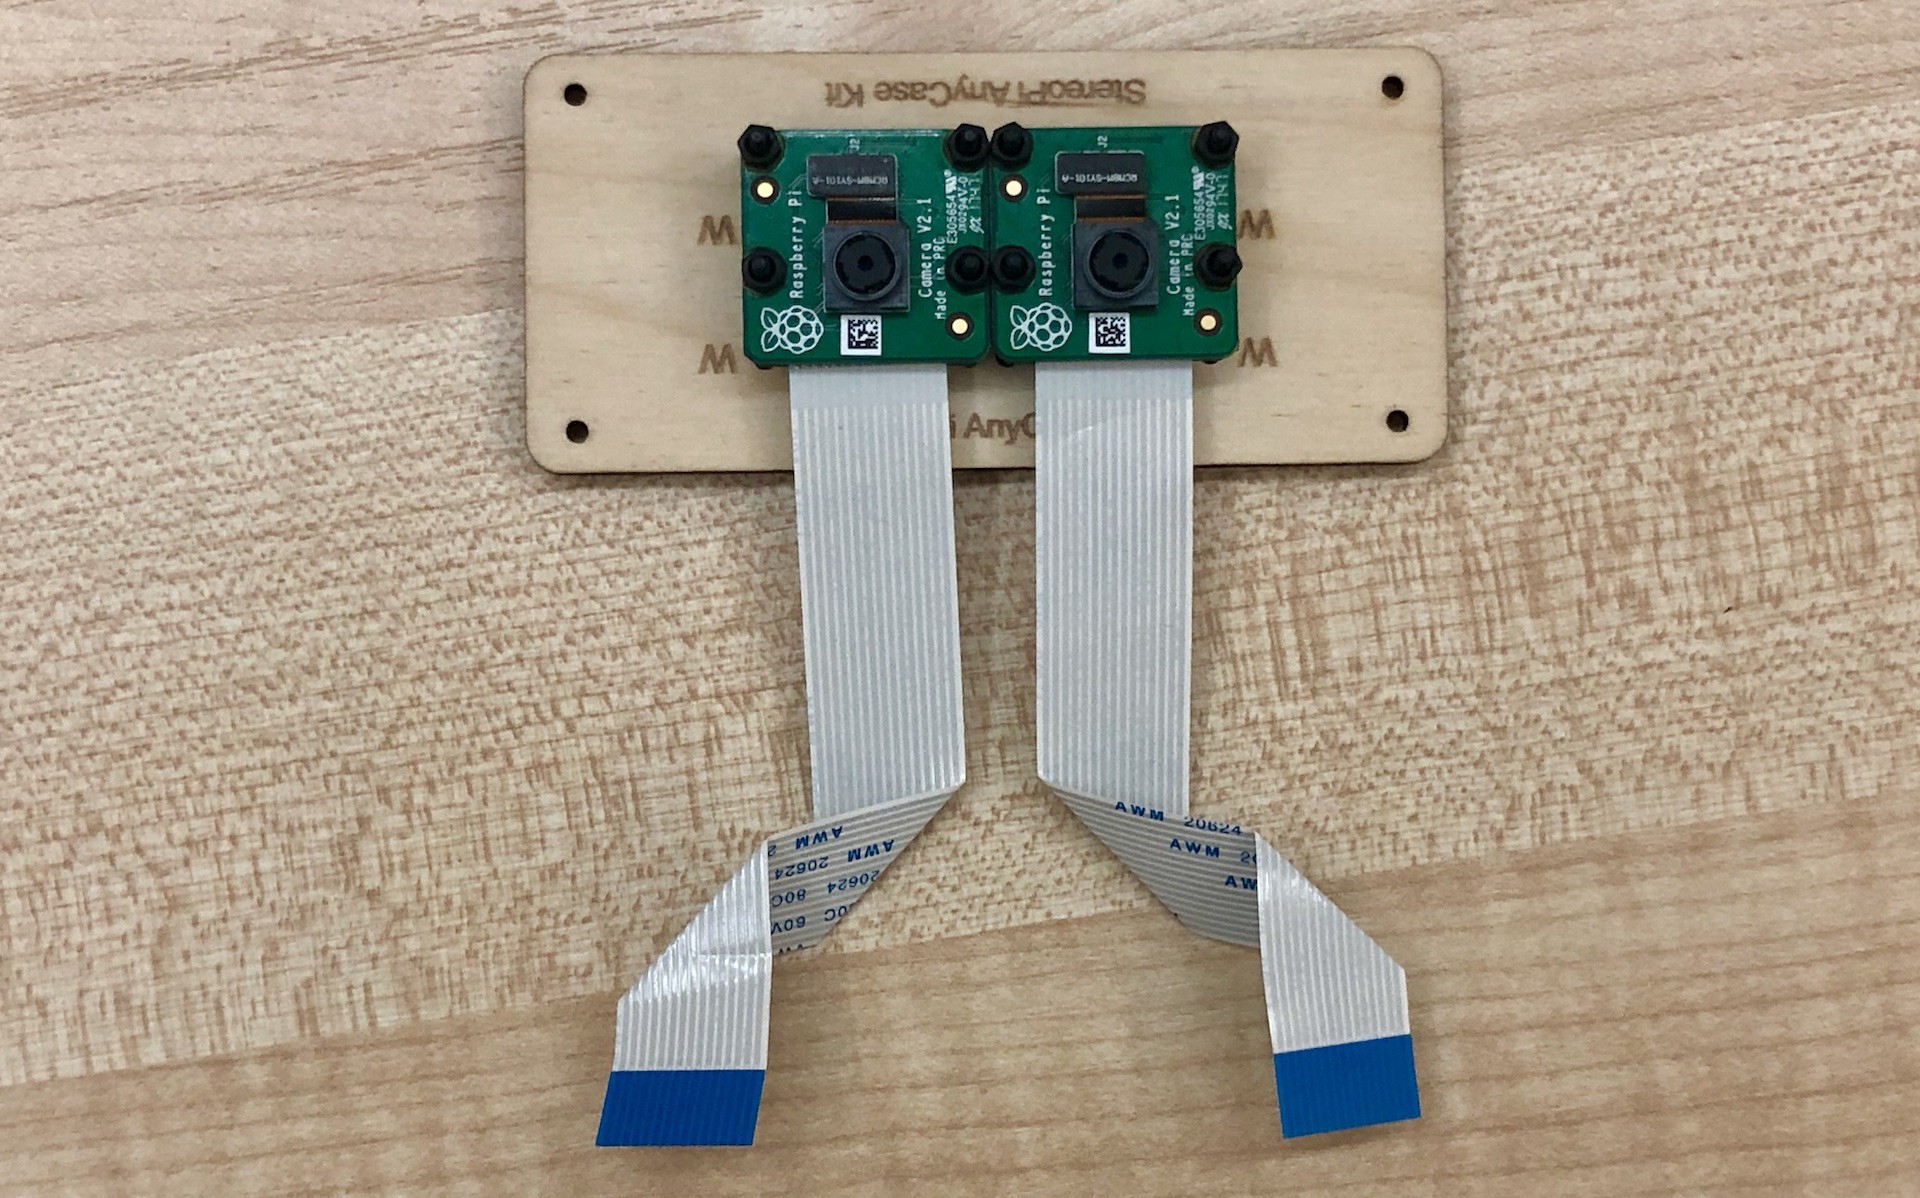
(if you’re afraid of damaging the cable, remember that there are many spare ones in the AnyCase kit)
And then put it all together:
Now that your StereoPi with default settings is connected to your network, and you are in the admin panel, let’s experiment!
4. First shot
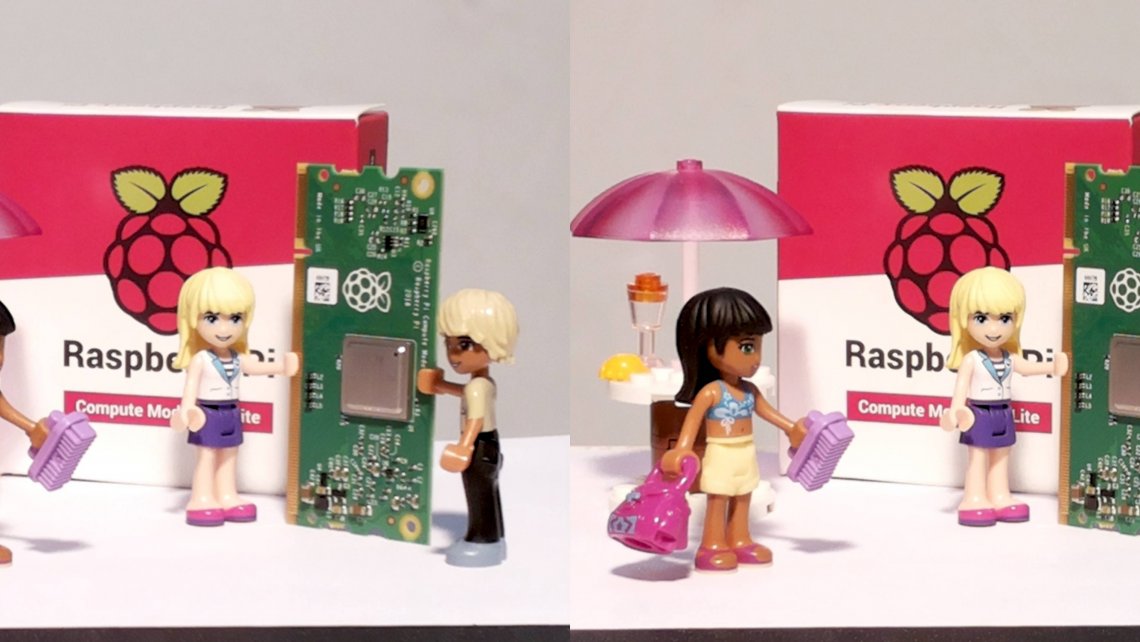
Take the first shot and see what happens. And so, we want to take a photo of the Raspberry Pi Compute Module. Here is a short video of what happens on the screen:
First conclusion:
In the video preview, you don’t see what you get in the photo. In the photo, the field of view is much wider.
Cause:
Photos are taken at the maximum resolution of the camera sensor, which has a 4:3 aspect ratio. But the video on the screen has a resolution of 1280x720, which is a 16:9 ratio. Besides, when ‘glueing’ a stereo video from two video frames with a resolution of 1280x720, just the two middle parts (640x720) are cut out and then combined into a single frame of 1280x720.
Solution:
Go to settings (click on the gear icon) and make two changes:
A) Choose the 1280x960 video resolution, which has a 4:3 aspect ratio.
B) Below, tick the ‘Decimate’ checkbox. This means that the Raspberry Pi Compute Module should no longer cut the middle part of each frame, but take it all in, compressing it horizontally by 2 times. If you’re interested, this checkbox adds the ‘-dec’ key to the raspistill and raspivid options in our scripts.
Result: in preview mode, you see on the screen exactly the scene that you get in the photo. Cool!
Second conclusion:
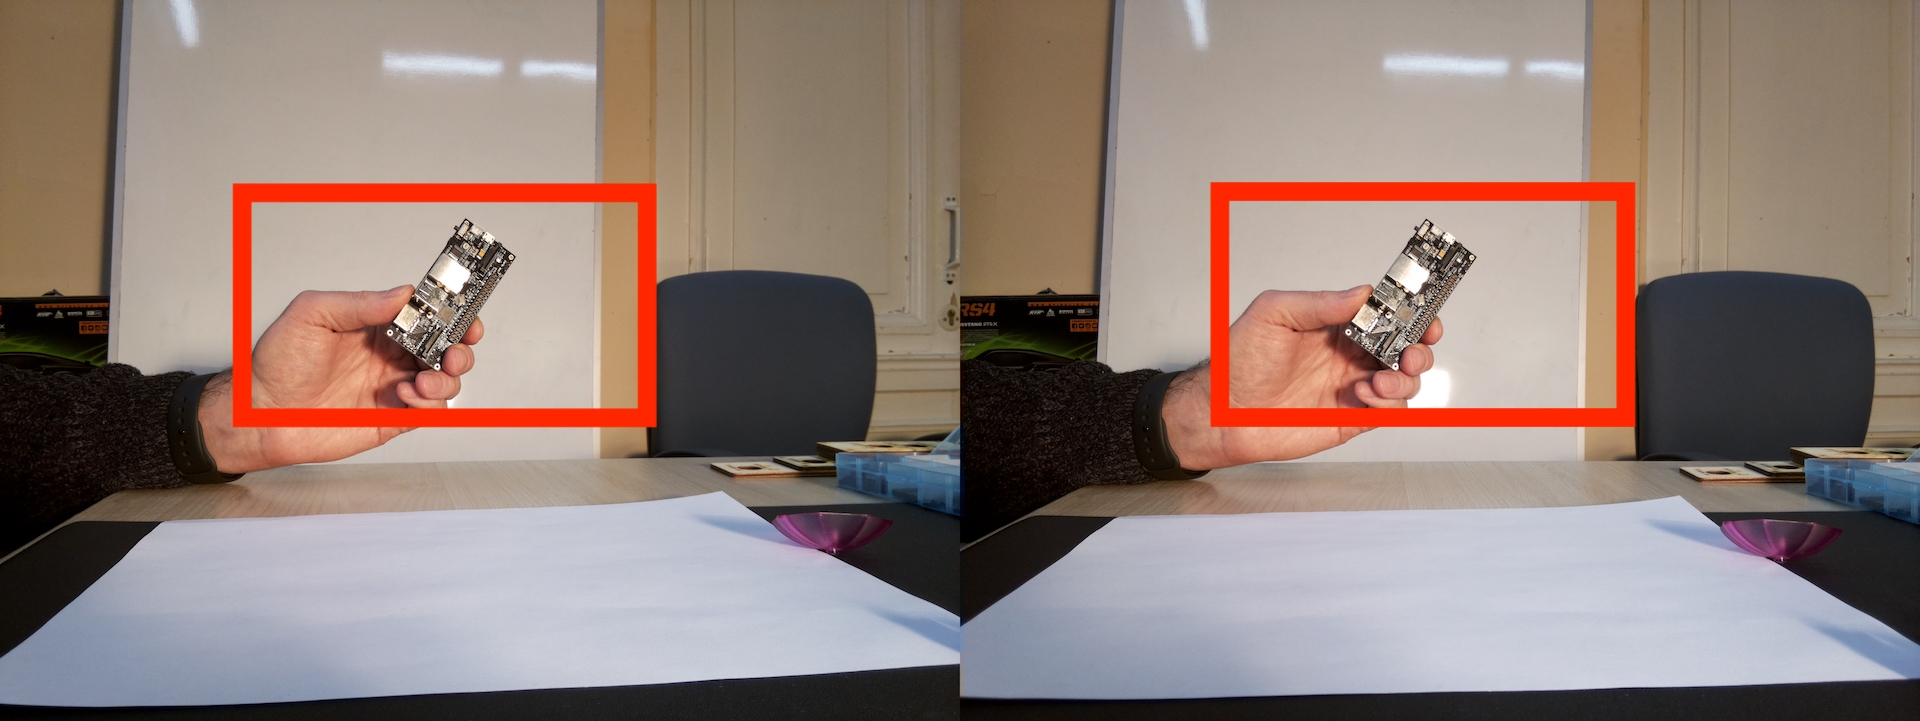
To make a close-up of the Raspberry Pi Compute Module, we had to place it very close to the camera, at about 7 centimeters. And we got two problems. The first one is that the Compute Module is out of focus. The second one — even if you adjust the focus, looking at this stereo photo is very uncomfortable for the eyes (even after editing it in Stereo Photo Maker).
Reason:
We already mentioned the focus issue with the cameras. You can adjust the focus, but you’ll have to place the object in a very narrow range of distances from the camera so that it remains in focus. We spent time on this, but we recommend you don’t spend any of yours. Since even with adjusted focus you’ll definitely feel the second problem — the discomfort when viewing this stereo photo. Here we’ve violated the 1/30 rule (7 cm is 10 times less than 70 cm!).
Solution:
Place the object much farther away from the camera, at a distance of about 70 cm.
5. Photo at the right distance
Now let’s try to take a picture of the StereoPi for example. Place the board at a distance of about 70 cm. Here’s what you’ll see:
Conclusion:
The resulting photo has a good stereo effect. But the StereoPi looks very small in the picture. But we wanted to get a close-up photo, right? Pity. It was all going so well!
Solution:
The first approach is to manually cut out the fragments of the image we need and ‘glue’ the stereopair from them. Since the resolution of the stereo image we have is 8 megapixels per frame, the quality should be good enough.
But you’re not going to do this kind of manual labour with each photo, are you? This is unsportsmanlike.
Let’s try the second approach — let StereoPi do it for you, quick, nice and neat.
Second approach: configure roi for our cameras.
Fortunately for us, all the native Raspbian camera utilities support the roi parameter. It allows you to specify which part of the frame you need to capture. This process is carried out by the GPU, so you won’t feel any decrease in performance.
You’ll need to pass 4 parameters in roi. The first pair of parameters indicates the relative coordinates of the top left corner of the region you’re interested in, and the second pair indicates its width and height.
Let’s try to cut a third of the picture exactly in the center.
You’ll need to use the following roi parameters:
-roi 0.333,0.333,0.333,0.333
Add this command and reboot:
6. First shot using roi
Try to take the first shot with roi. Place the object in the camera’s field of view and take a photo:
Conclusion:
The photo turned out to be large enough, but the object did not get into the field of view. This leaves you constantly guessing whether everything that you want falls into the frame and exactly as you want it to. That’s no good. You could spend a whole day taking pictures to get a good angle.
Solution:
We added the roi parameter for taking photos, but the preview video was still showing the full frame and a lot of unneeded stuff. Fortunately for us, the raspivid utility also supports the roi parameter. So just add it to the video parameters too:
7. Video preview and photo with roi
Try to take a photo with the ‘adjusted’ viewfinder.
Hooray!!! In the video preview window, you see exactly what you get in the photo!
Now you can focus on building the scene for your photography as well as on the artistic aspect, rather than on fighting the settings and guessing the field of view.
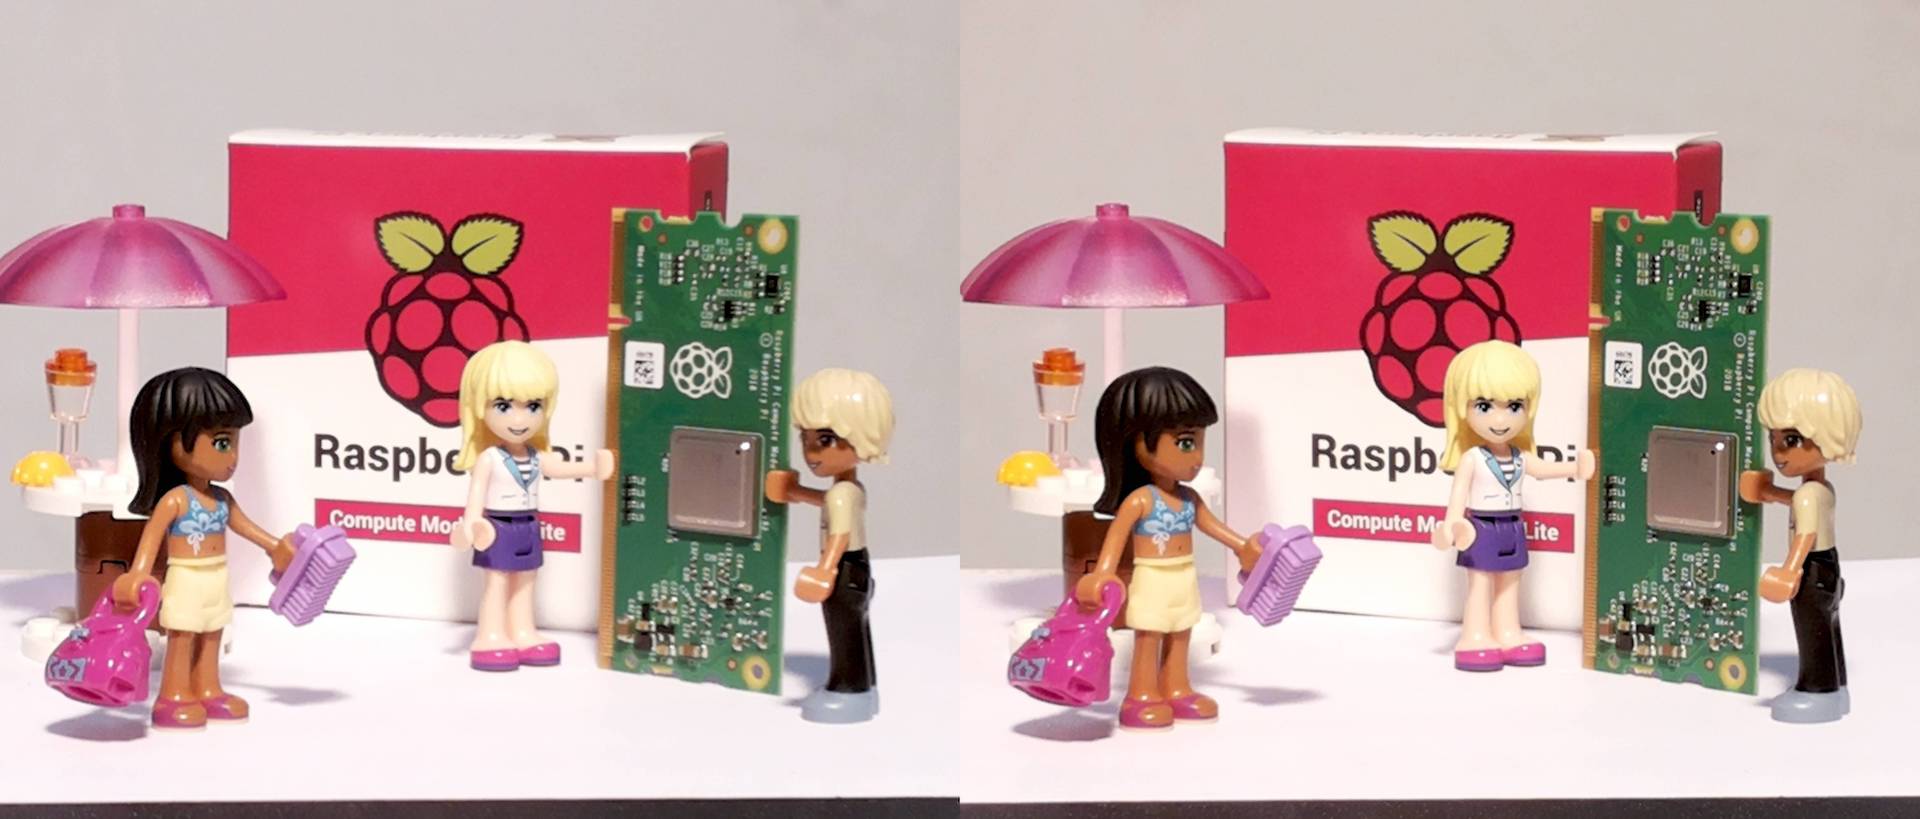
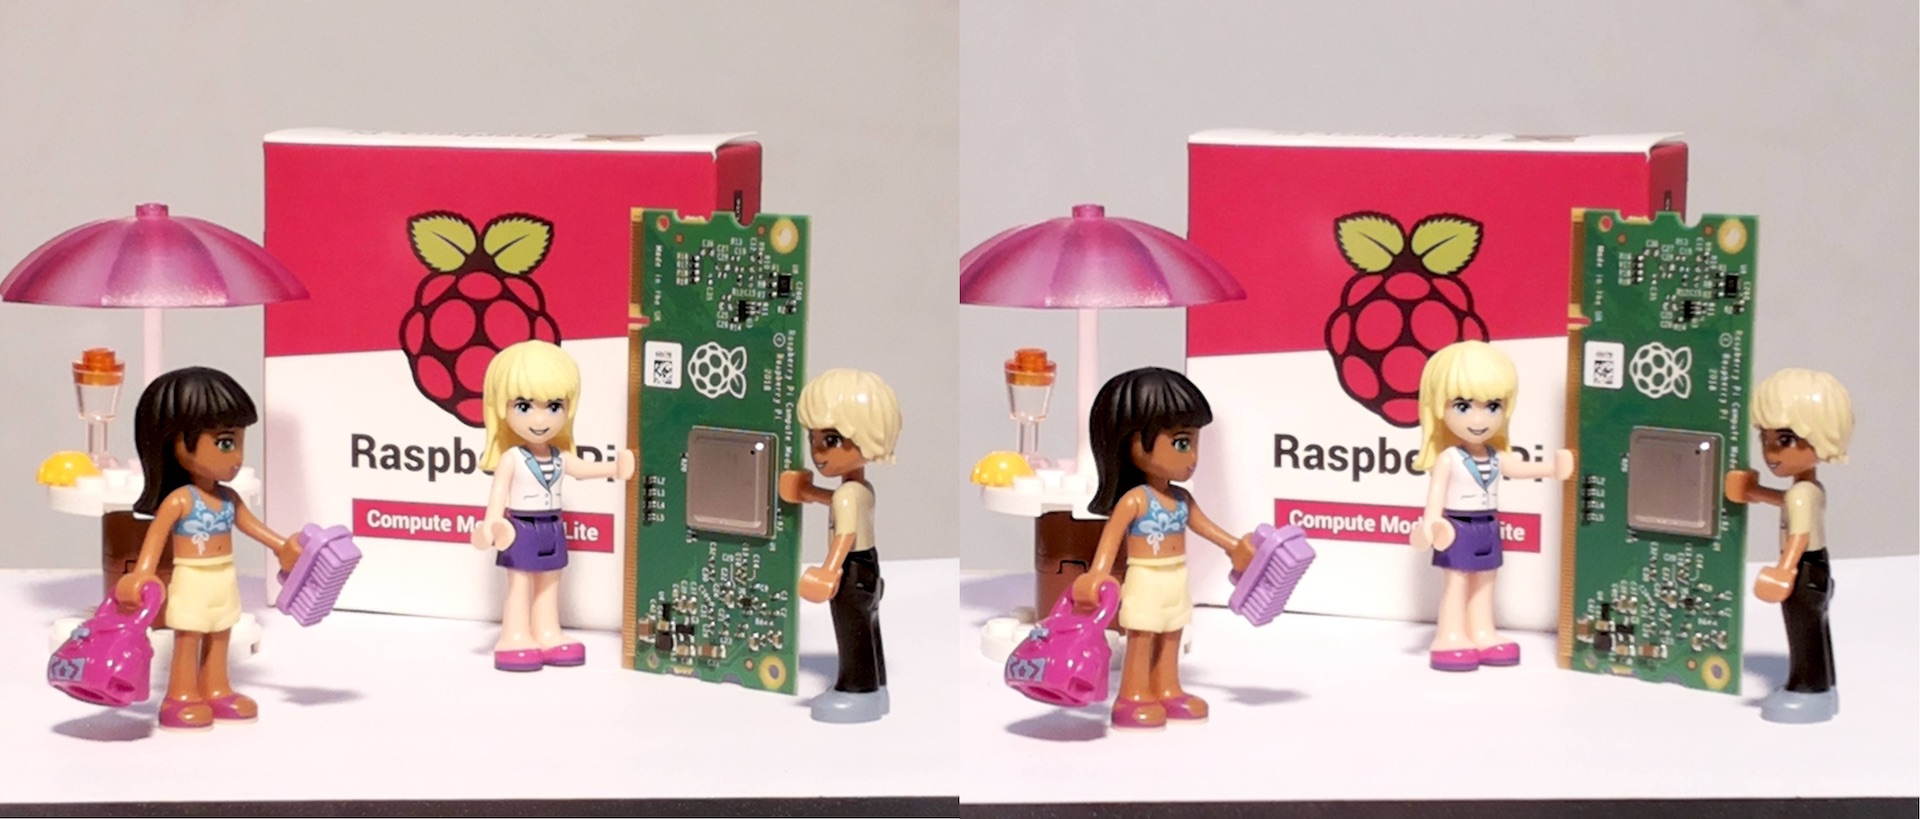
Here is our StereoPi board photo with a couple of Lego girls:
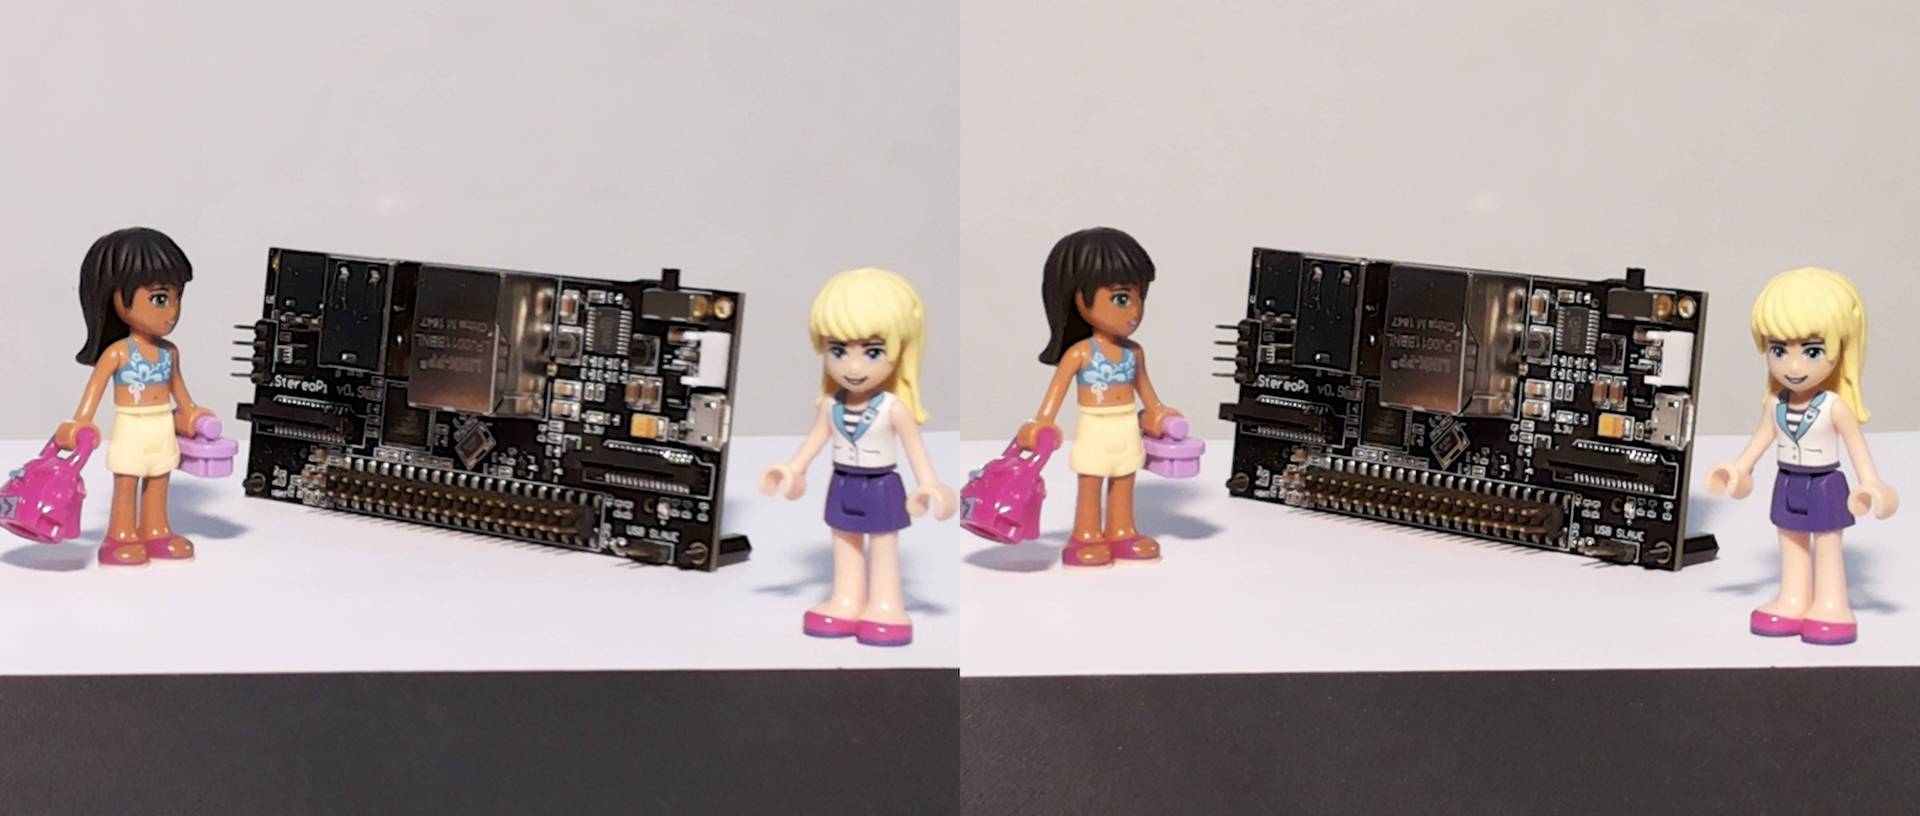
Lego girls and the StereoPi, L-R image
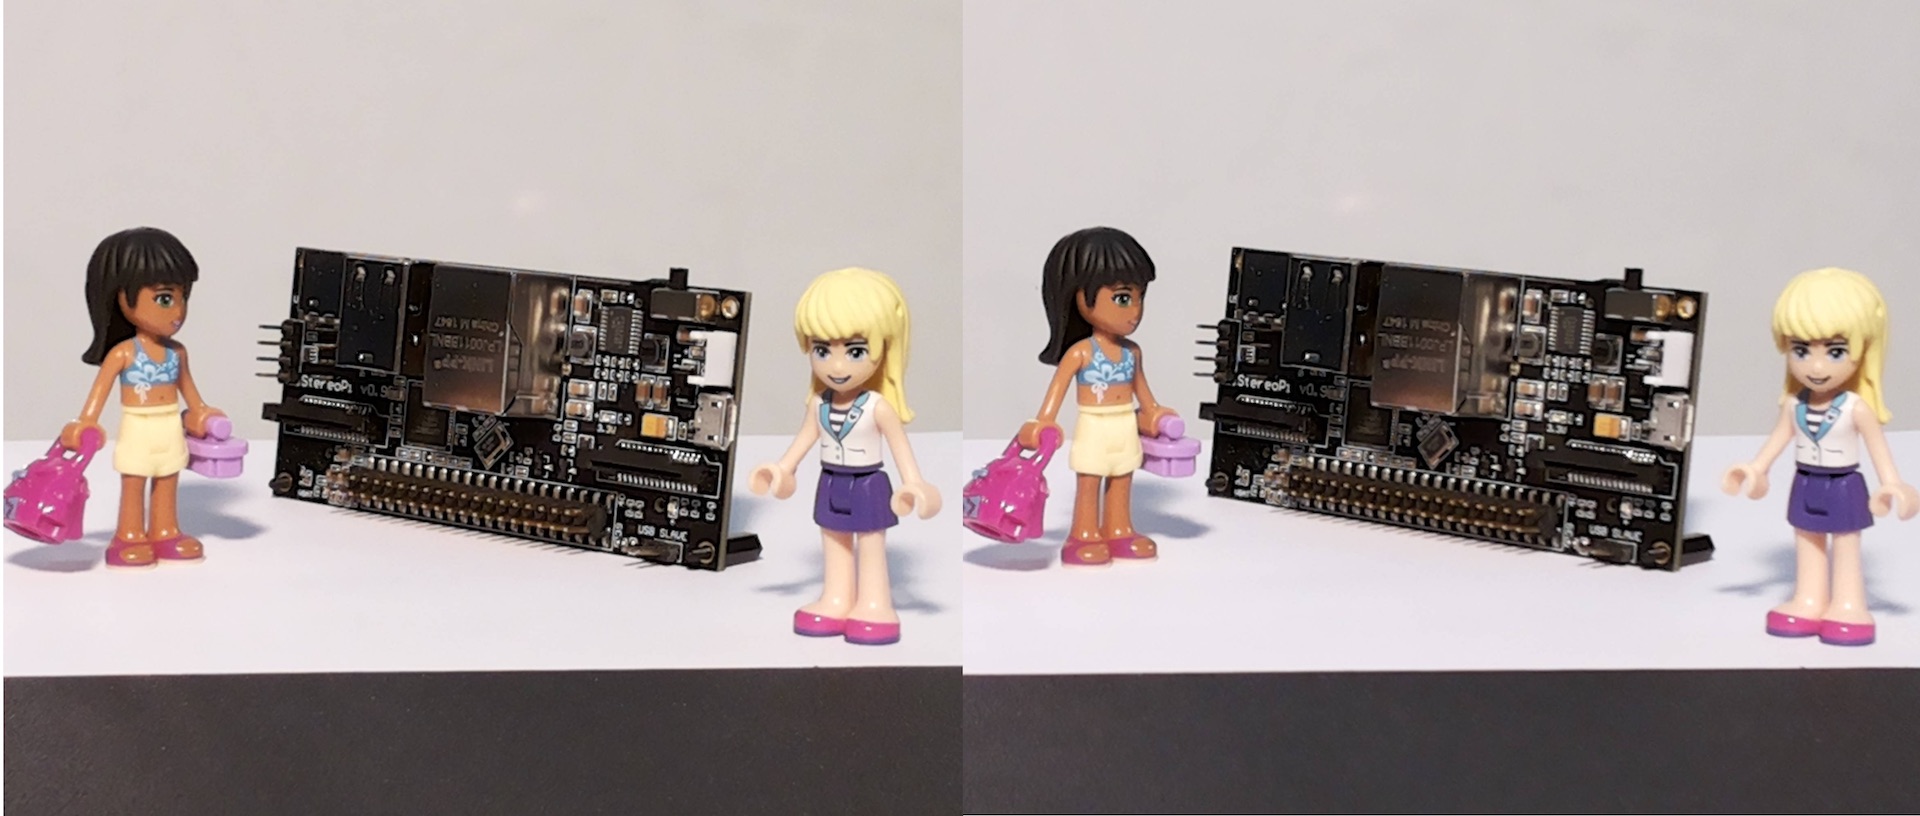
Lego girls and the StereoPi, R-L image
8. Last, but not least, a few more nuances
- When we pass the roi parameter to the camera, it ‘cuts out’ the indicated part of the frame, which seems like an obvious point. What is not obvious is that after that raspivid and raspistill stretch the received frame to the specified resolution. This means that in any case you get a stereo frame with a resolution of 16 megapixels (for V2 cameras) or 10 megapixels (for V1 cameras). So don’t be surprised with the large file sizes.
- You may notice a striking difference in quality between the preview video and the final photo. In photo mode, the Raspberry GPU runs several additional post-processing and image enhancement operations, and the process of capturing a photo is very different from capturing a video frame. Therefore, the quality is completely different..
- For post-processing stereo pairs, we use the popular Stereo Photo Maker app. If you’re a Mac user, be aware that the latest Mac version doesn’t work on Catalina. Therefore, we use the Windows version.
- Light is a very important component of success. This applies to all Raspberry Pi cameras.
- With macro photography, the background can greatly disrupt perception. Since you’re not using professional optics and adjustable depth of field to level this effect, try to choose an even background for your scenes.
- Never give up, everything will work out fine! ☺